
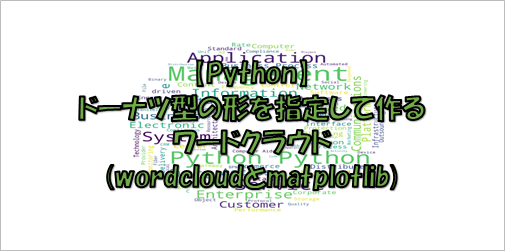
Pythonでワードクラウドを作成する方法を紹介します。
ワードクラウドはテキストデータを単語ごとに分割し、
単語ごとの出現頻度に応じた大きさで図示する手法です。
例として、以下がワードクラウドです。

本投稿ではPythonのwordcloudを使用してワードクラウドを作成する方法を紹介します。
検証環境はMacBook(M1)、Python:3.9.1です。
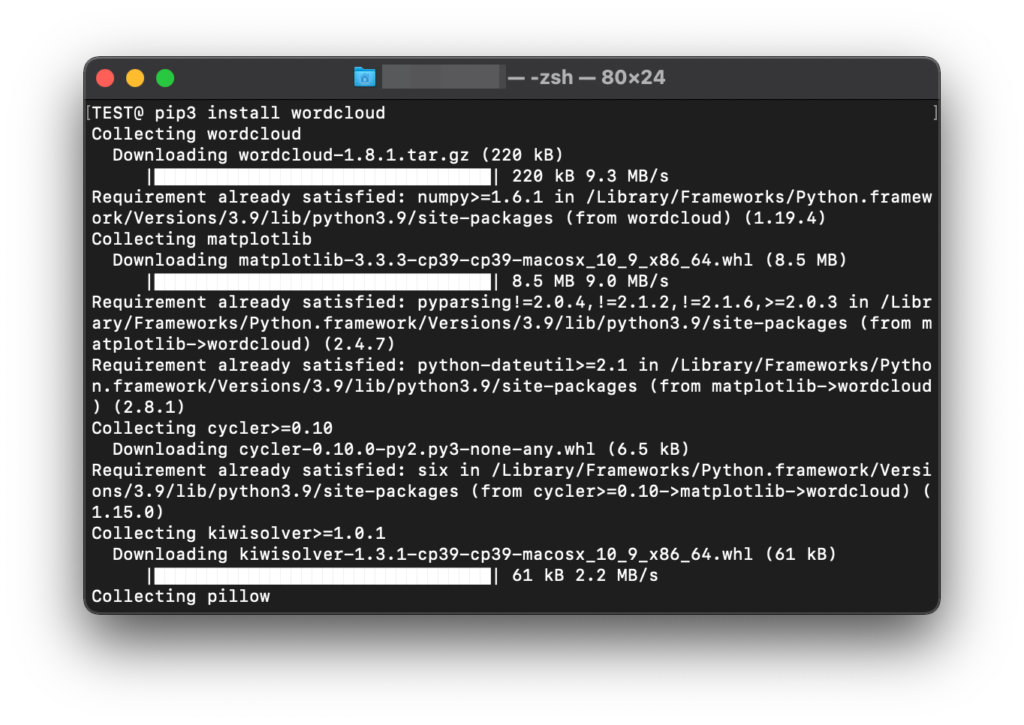
wordcloudのインストール
ワードクラウドを作成する準備としてpipでwordcloudをインストールします。
(本投稿では wordcloud 1.8.1をインストール)
pip3 install wordcloud
CLIでのテスト実施
pipでのインストールが完了したらCLI上で簡単にテストを実施してみます。
wordcloud_cli –text it.txt –imagefile test.png
Terminalでコマンドを実行するとit.txt内の単語でワードクラウドが作成されました。


Pythonでドーナツ型のワードクラウドを作成
ここで作成するワードクラウドはドーナツ型に作りたいので以下の画像を用意します。
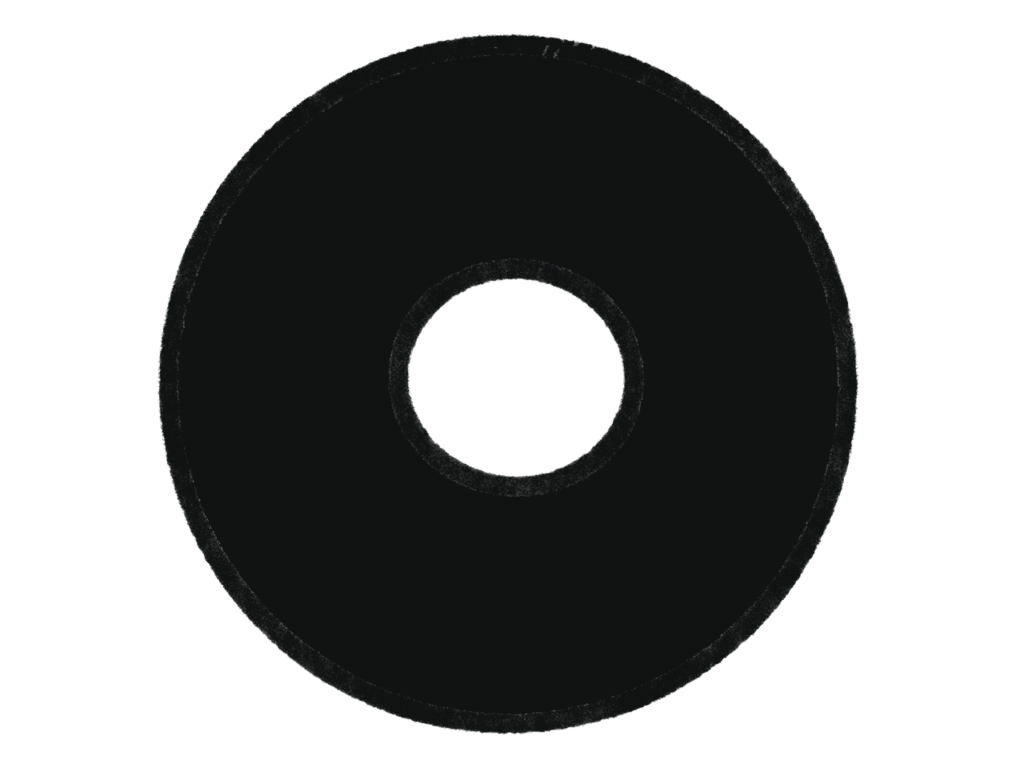
黒塗りになっている部分でワードクラウドが作成されます。
wordcloudのデフォルトとして無視するカラーが白なので
画像を用意する際は背景色に注意しましょう。
コード例
#インポート
from PIL import Image
import numpy as np
import matplotlib.pyplot as plt
import os
from wordcloud import WordCloud, STOPWORDS, ImageColorGenerator
#テキストデータの読み込み
text = open(path.join(‘it.txt’)).read()
#画像データの読み込み
donuts_coloring = np.array(Image.open(path.join(“donuts.png”)))
#wordcloudの指定
wc = WordCloud(background_color=”white”, max_words=100, mask=donuts_coloring,
max_font_size=100, random_state=42)
wc.generate(text)
#wordcloudの描写
plt.imshow(wc,interpolation=”bilinear”)
plt.axis(“off”)
plt.show()
出力結果
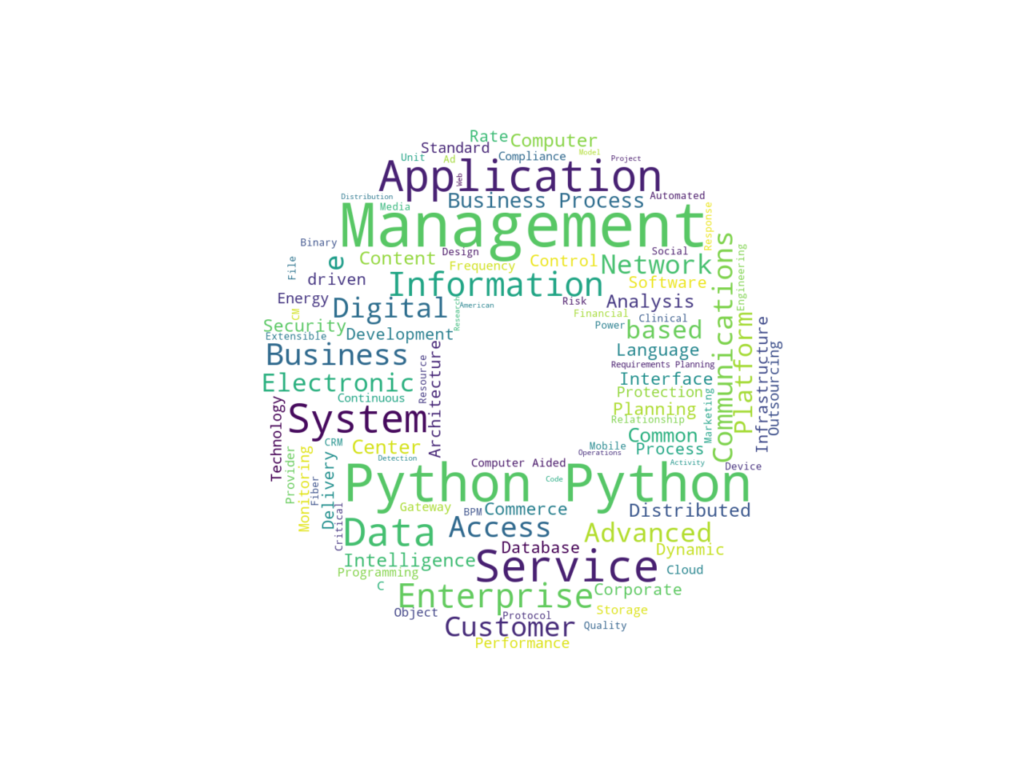
ドーナツ型にワードクラウドを作成することができました。
以下にはサンプルコードがいくつも用意されているので色々なやり方を試してみてください。

コメント