
macを購入したので備忘録としてPythonをインストールした手順をまとめました。
macは動画編集など他用途の購入のため、Pythonは手軽に使用できれば満足です。
なので今回はHomebrewは使わずに「https://www.python.org/downloads/」からPKGをダウンロードしてインストールします。
本投稿でインストールするPythonのバージョンは「3.9.1」です。
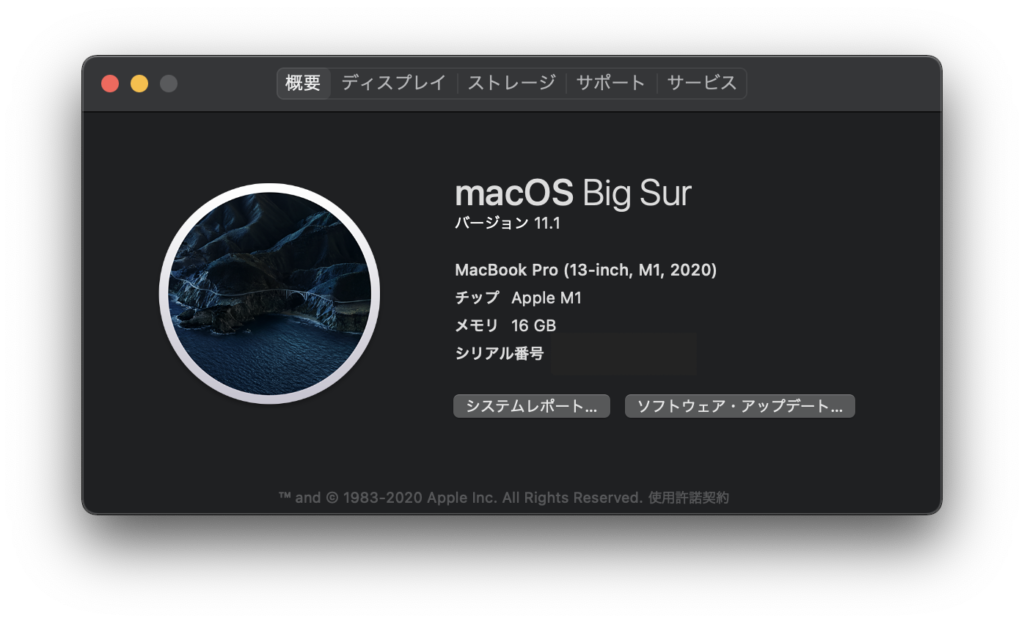
実行環境はMacBook Pro(M1)です。
Python3.9のインストール
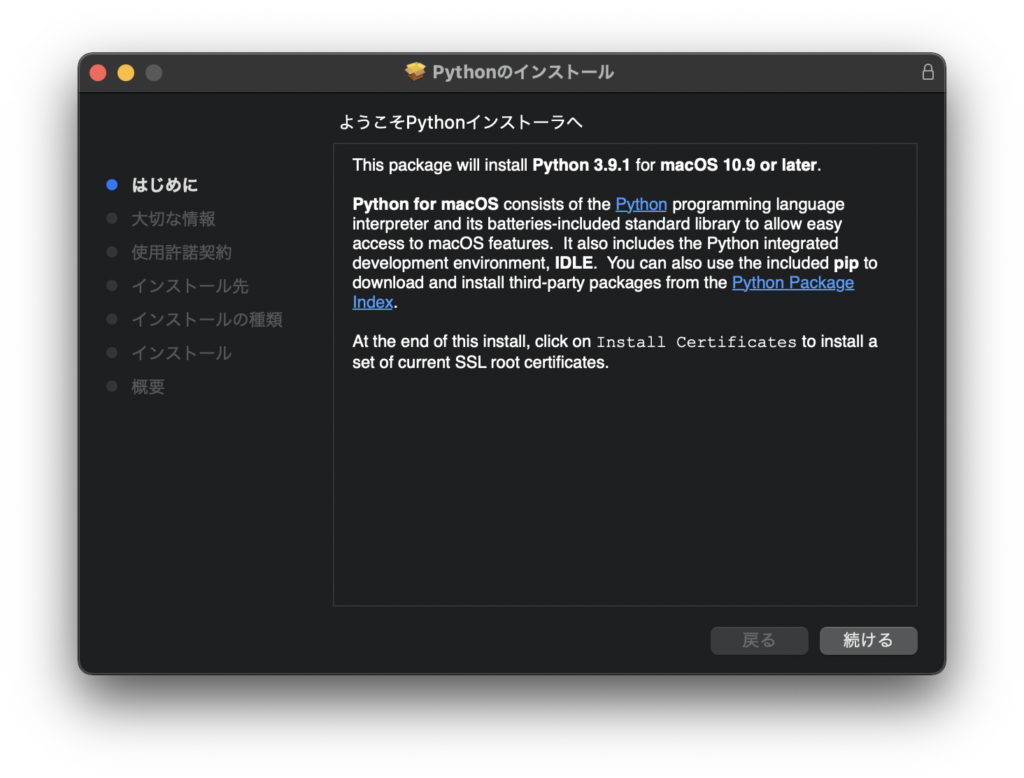
Python公式サイトのダウンロードページにある「Download Python X.X.X」をクリックし、パッケージをダウンロードします。

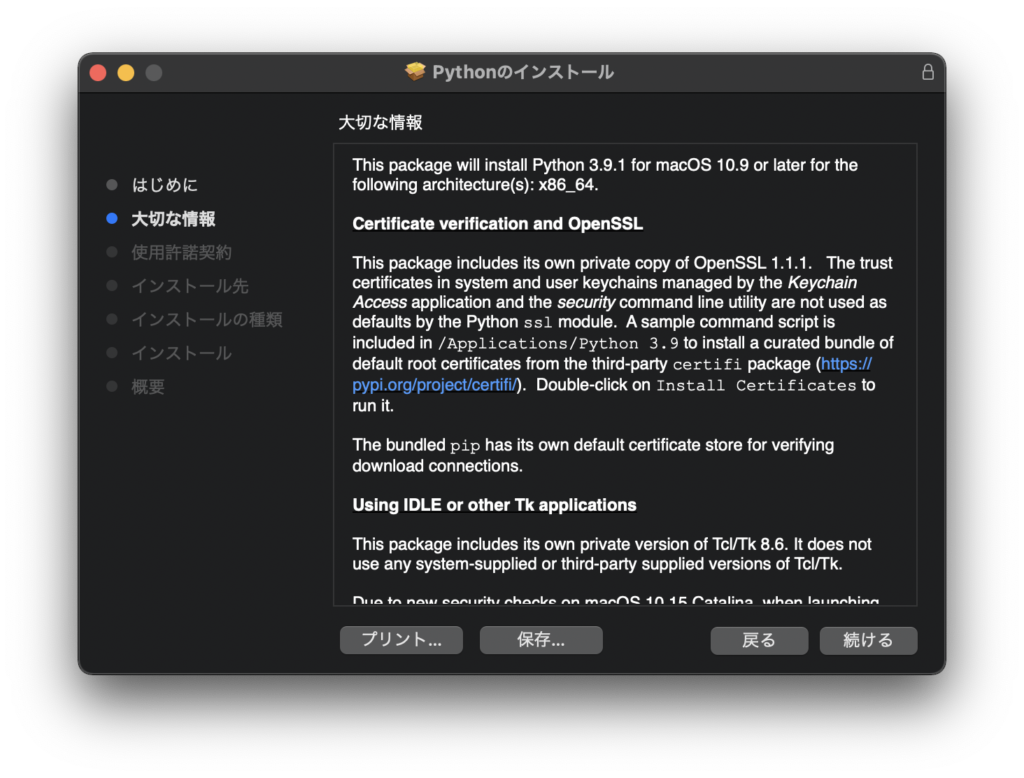
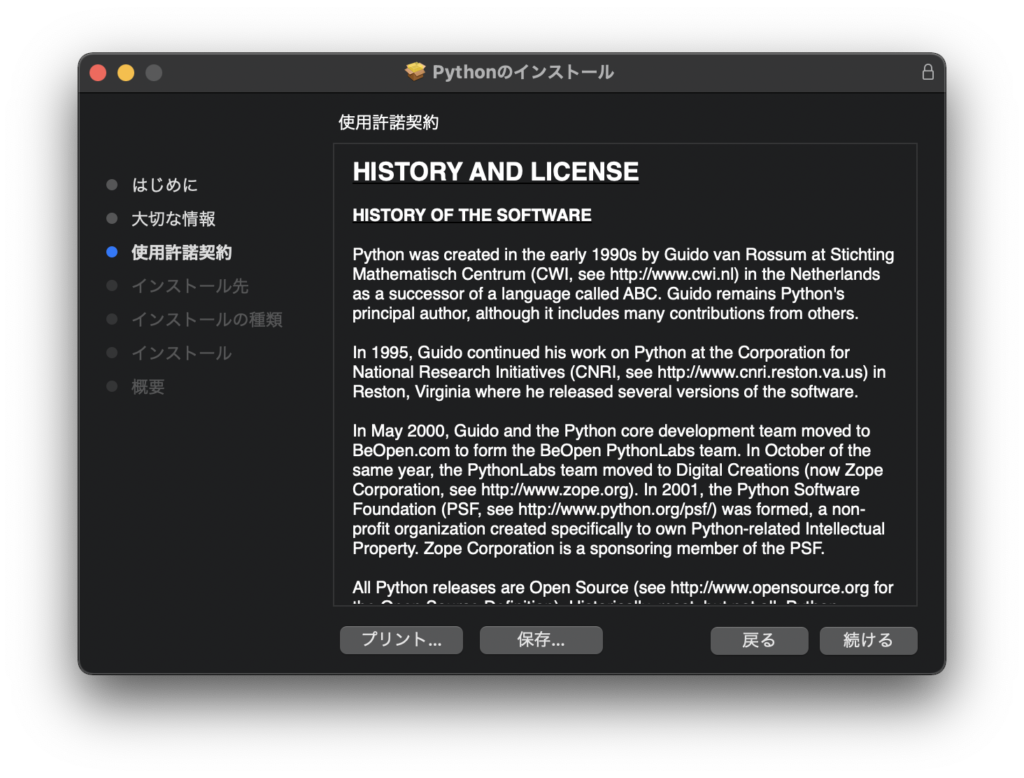
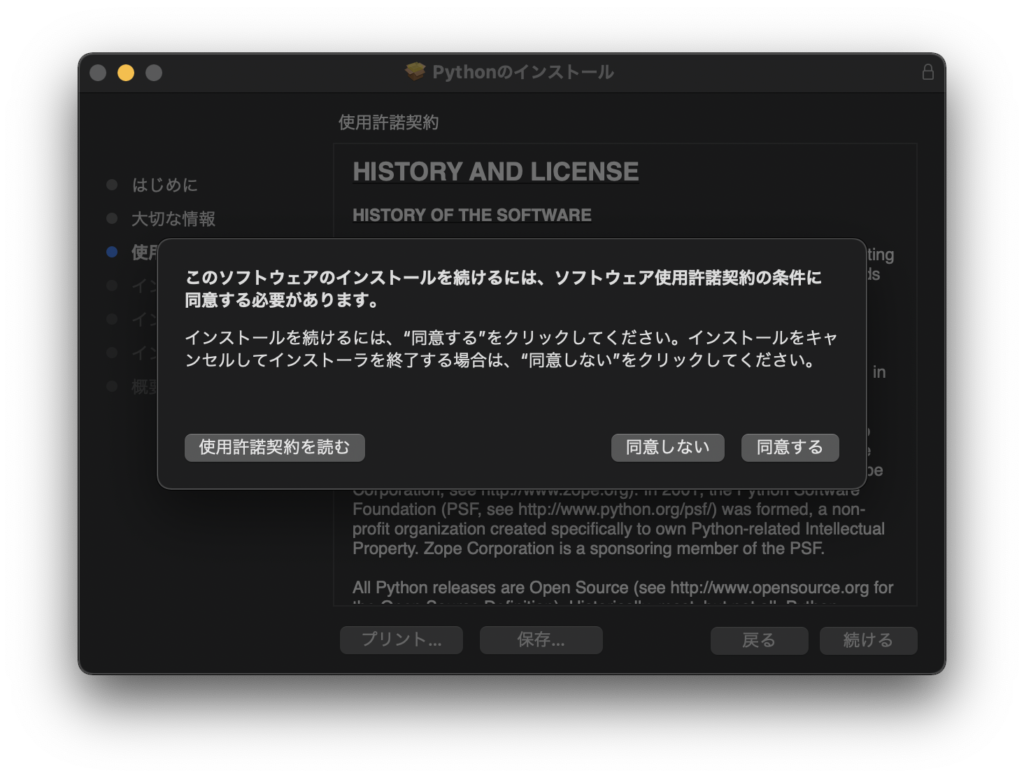
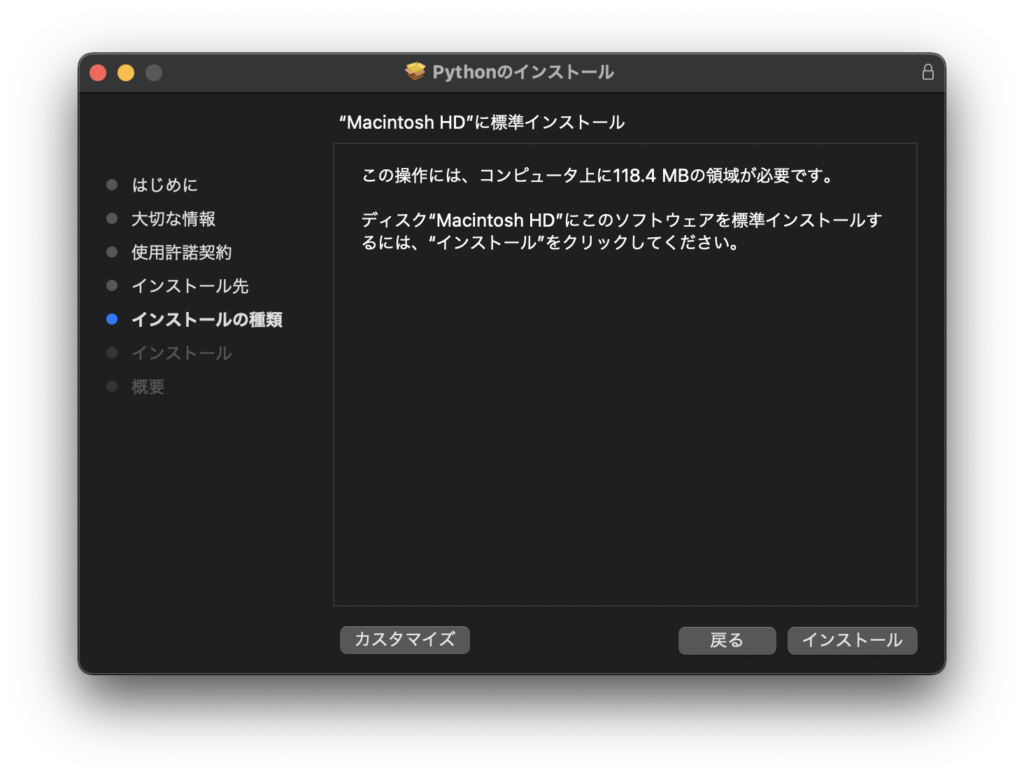
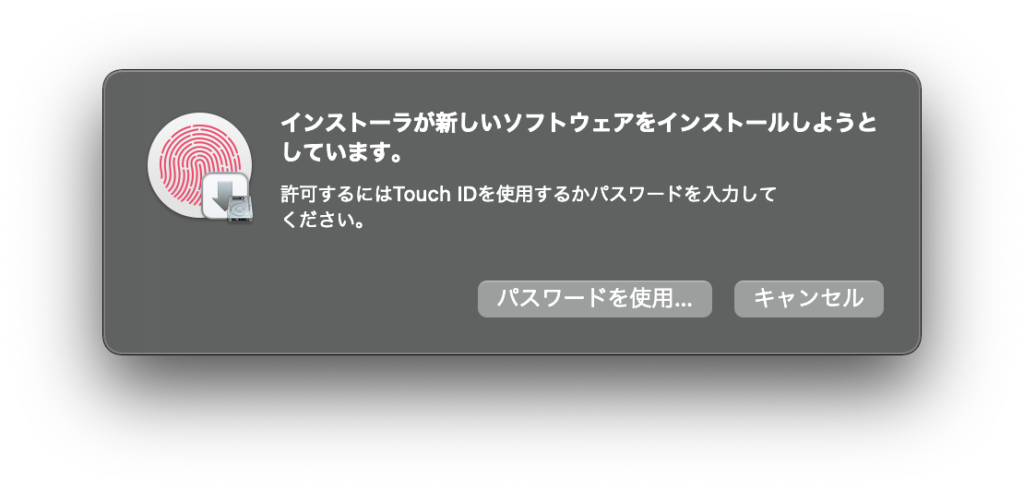
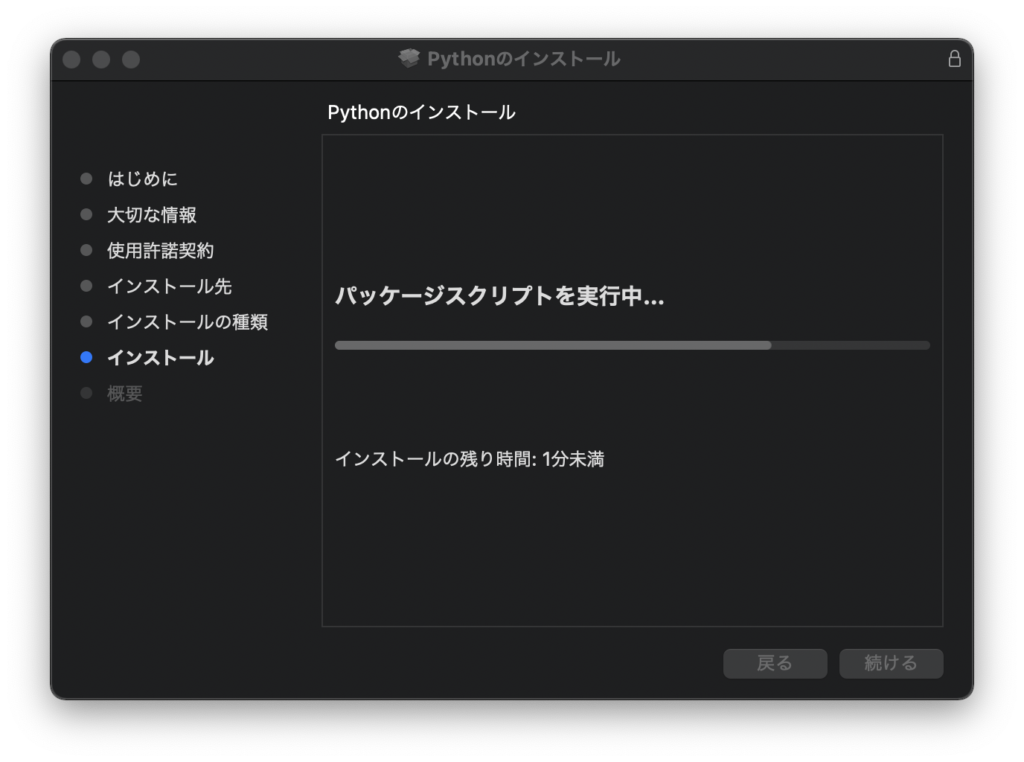
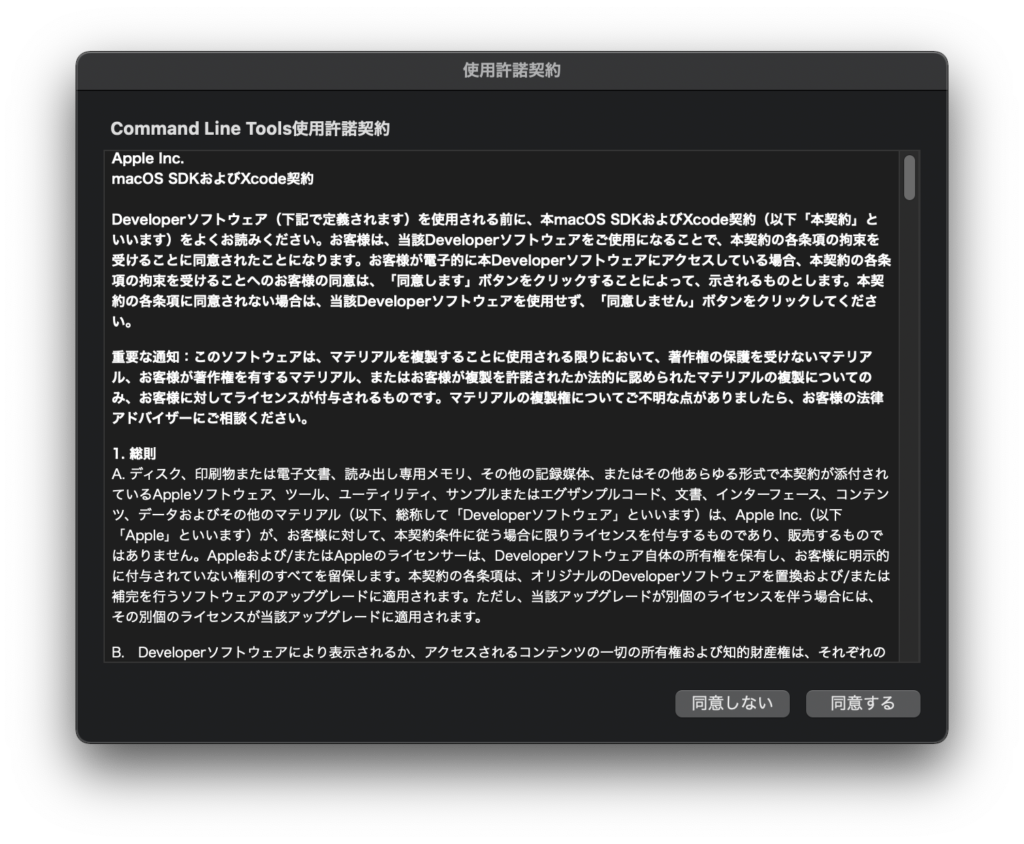
パッケージを開き、画面に従いインストールします。
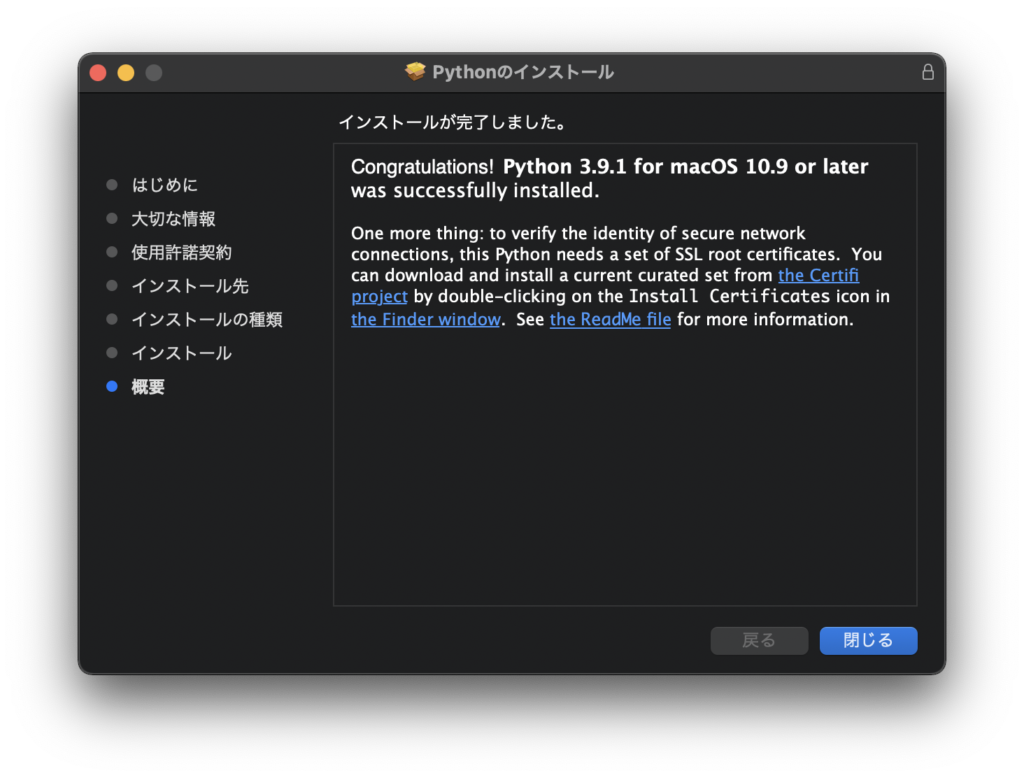
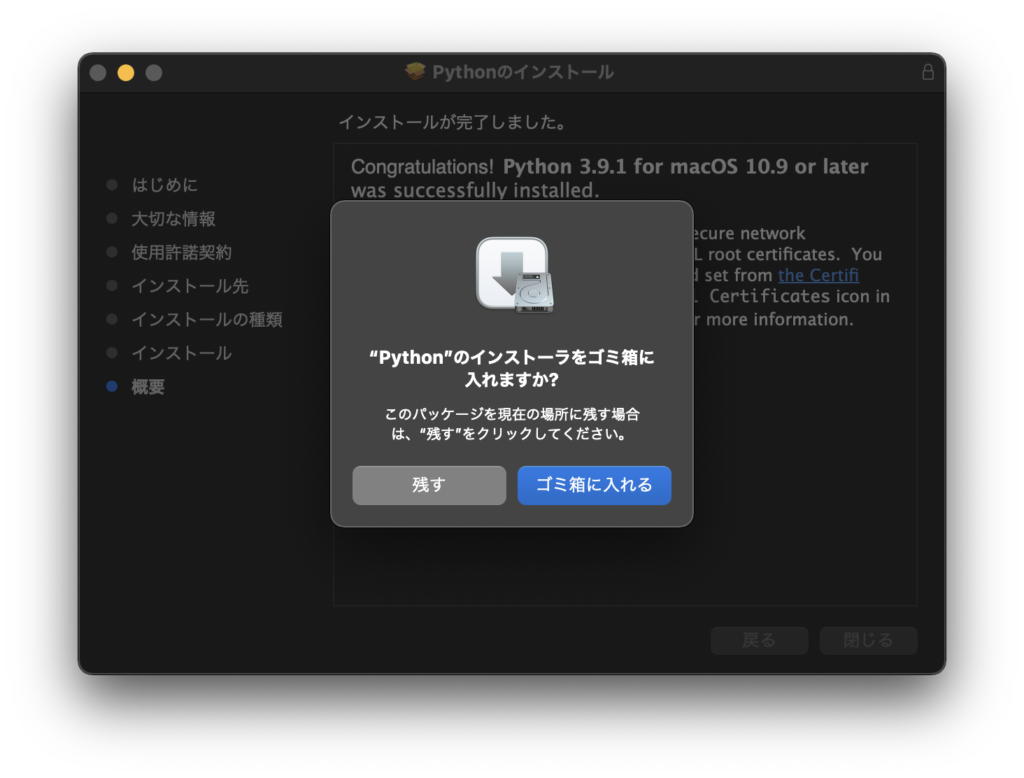
インストール完了後、Pythonのインストーラーをゴミ箱に捨てるか表示されます。
不要であればゴミ箱に入れましょう。
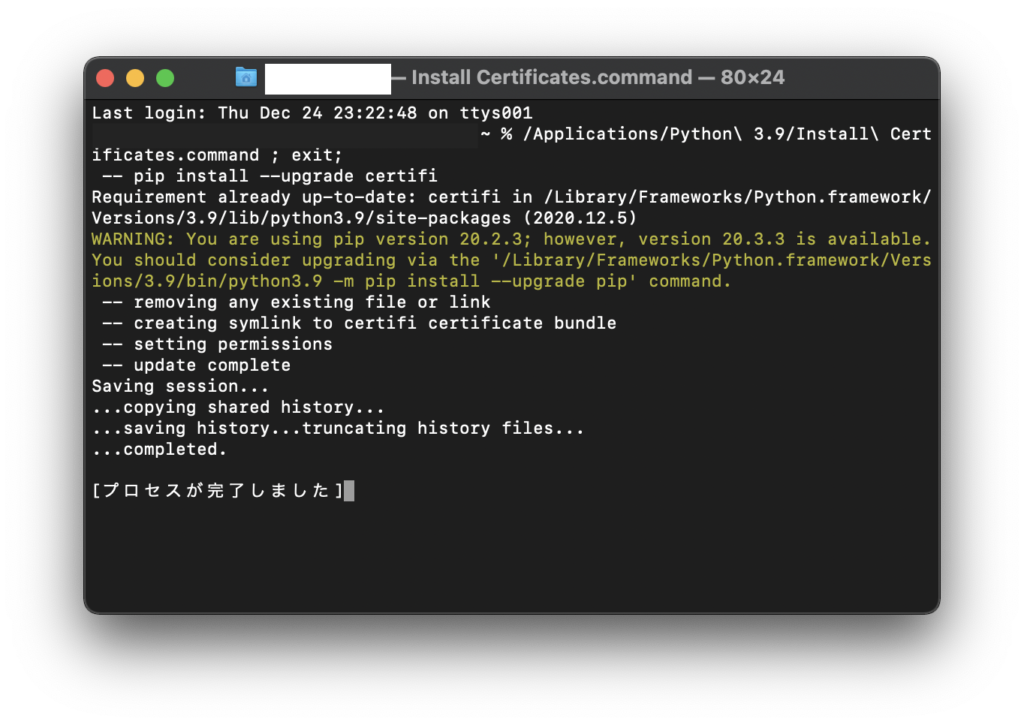
ルート証明書インストール
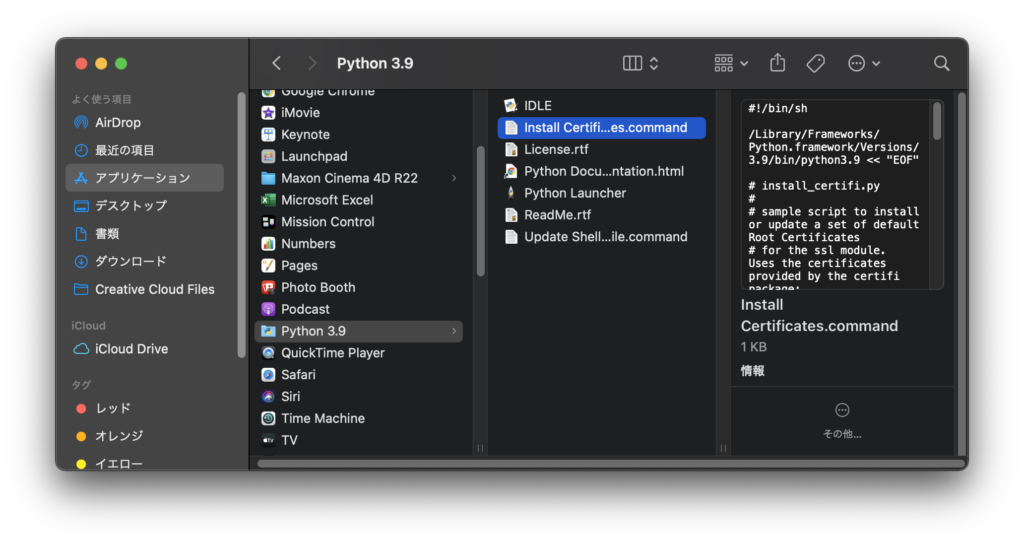
インストールするとアプリケーションに「Python3.9」というフォルダが作成されます。
「Python3.9」にある[Install Certificates.command]を実行します。
PythonとPipの確認
Pythonのバージョンを確認
python3 -V
Pythonの環境変数を確認
which python3
Pipの環境変数を確認
which pip3

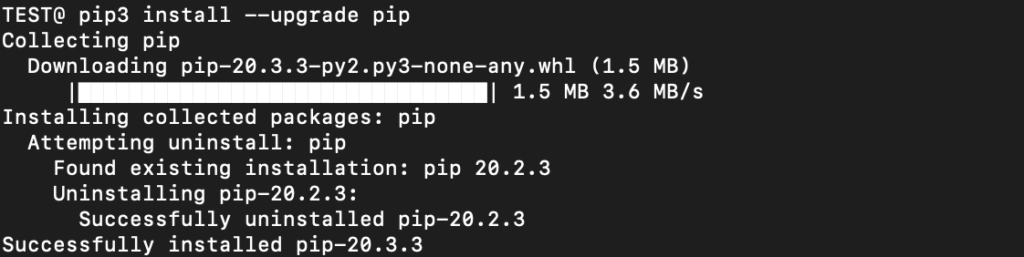
Pipのアップグレード
pip3 install –upgrade pip
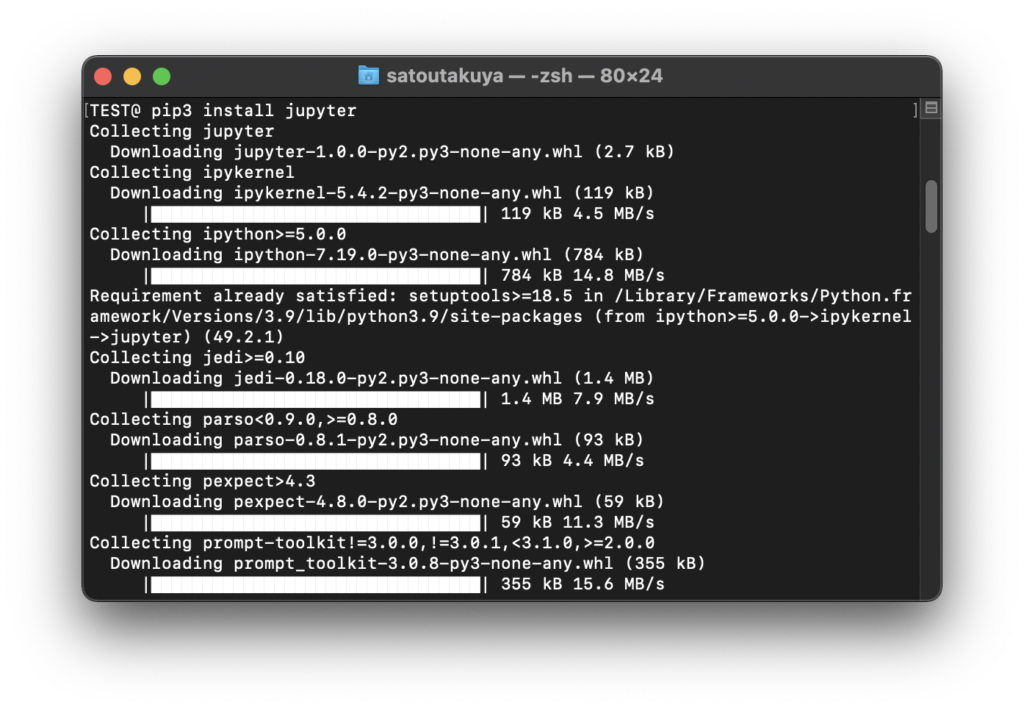
Jupyter-Notebookのインストール
Jupyter-Notebookをインストールするために以下のpip3コマンドを実行します。
pip3 install jupyter
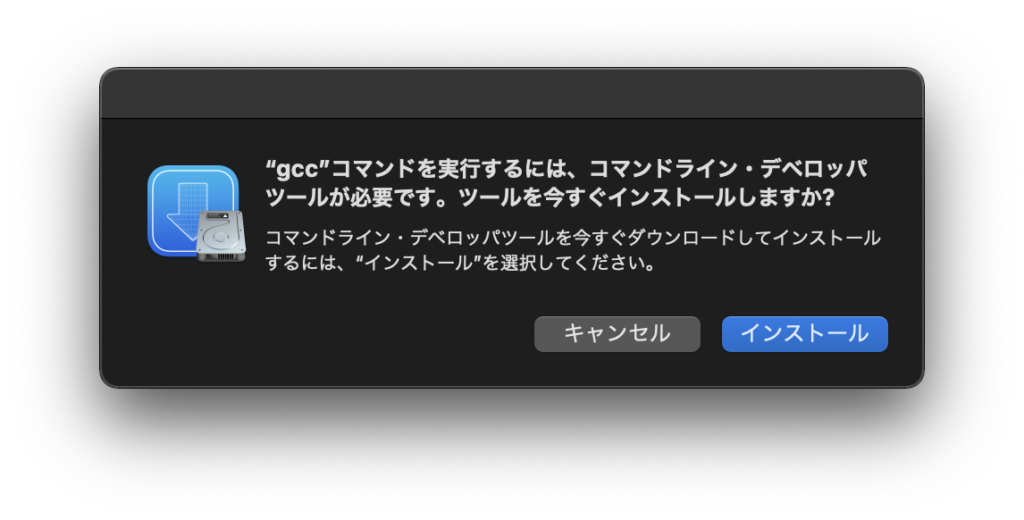
インストール中にgccのインストールを求められた場合はインストールします。
Jupyter-Notebookの起動
ターミナルを起動し、以下を実行します。
jupyter-notebook
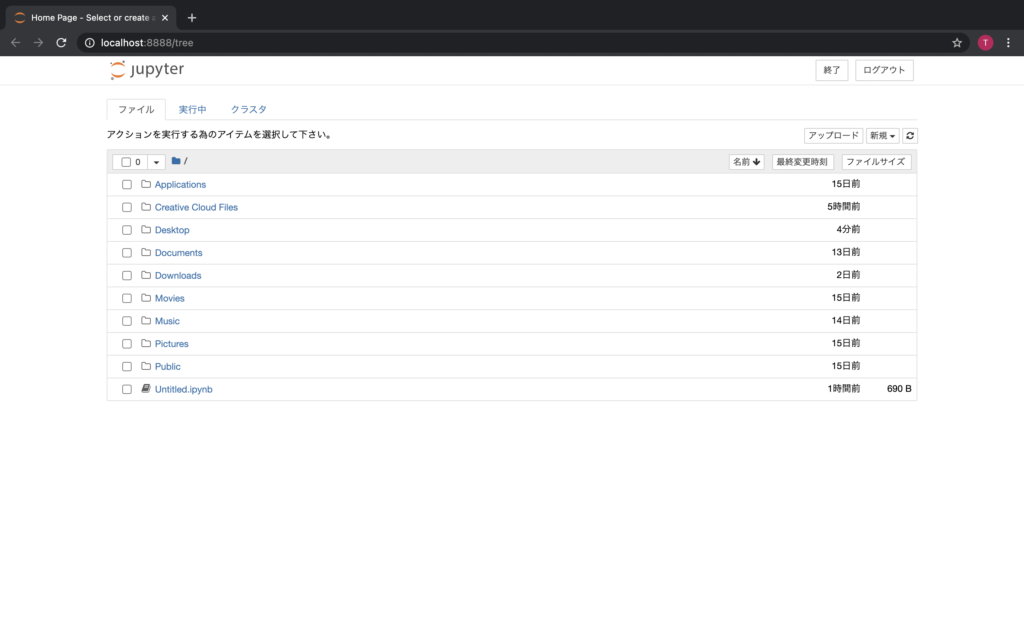
Jupyter-Notebookが起動するので新規でファイルを作成し、
Pythonのバージョンが今回インストールした3.9.1か確認します。


コメント