

今回の投稿ではWindows10に2020年2月24日にリリースされたPython 3.8.2とpipコマンドにてJupyter-Notebookをインストールする手順を紹介します。
簡単な作業ですが備忘録として。
Python3.8.2のインストール
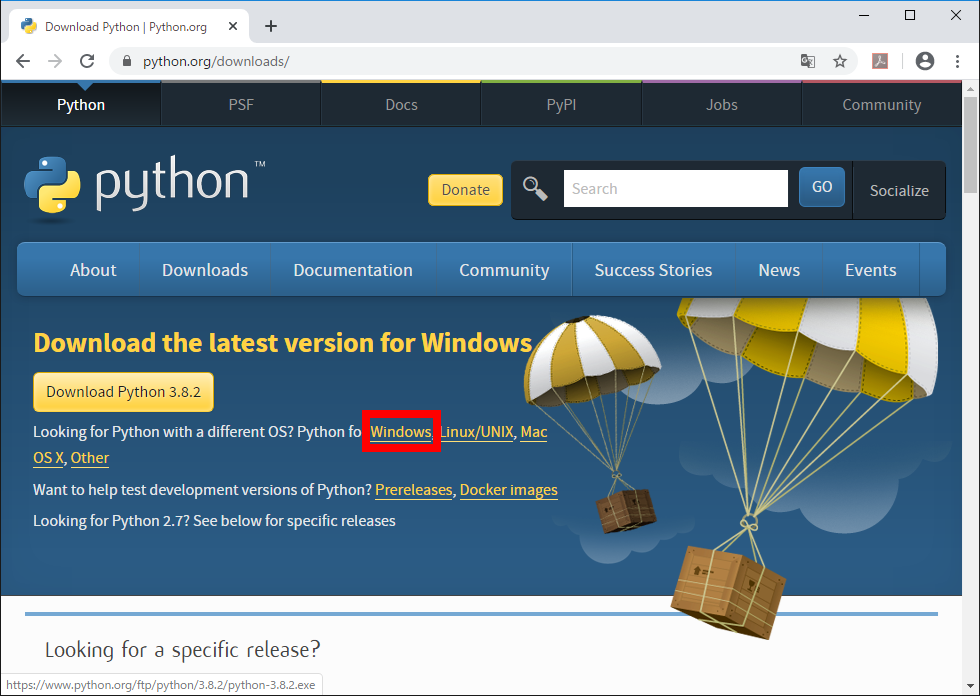
–Pythonのダウンロードページで[Windows]をクリックする。
(32bit版をインストールしたい場合は[Download Python 3.8.2]をクリックする。)
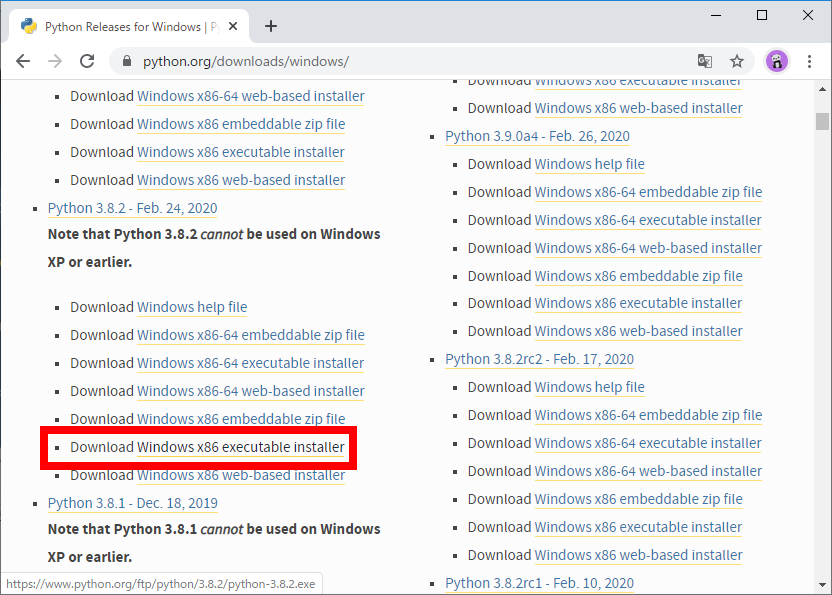
-[Windows x86-64 executable installer]をクリックすると「python-3.8.2-amd64.exe」がダウンロードされるので実行する。
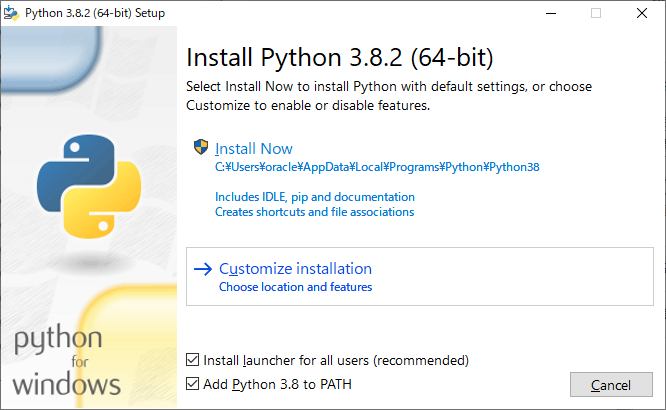
-[Add Python 3.8 to PATH]にチェックする。
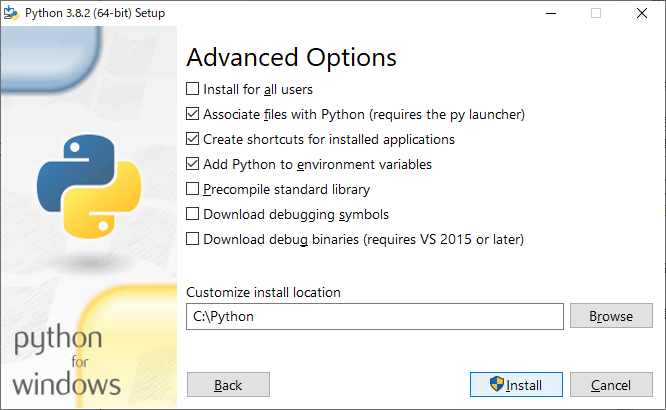
また、Pythonのインストール場所を変えたいので [Customize installation]をクリックする。
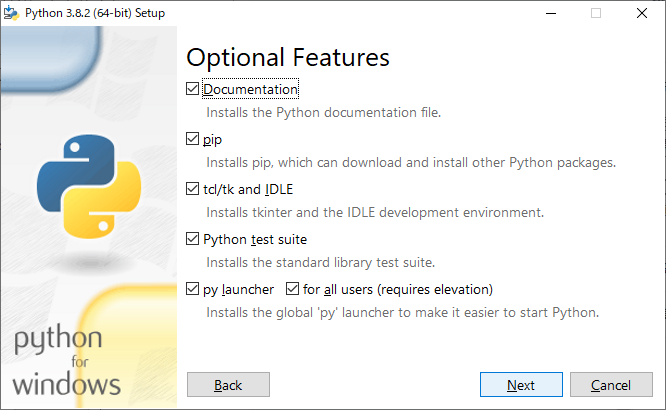
-[Next]をクリックする。
([pip]は必ずチェックしておいてください。Jupyter-Notebookをインストールする際に必要です。)
-Cドライブ直下に[Python]フォルダを指定し、[Install]をクリックする。
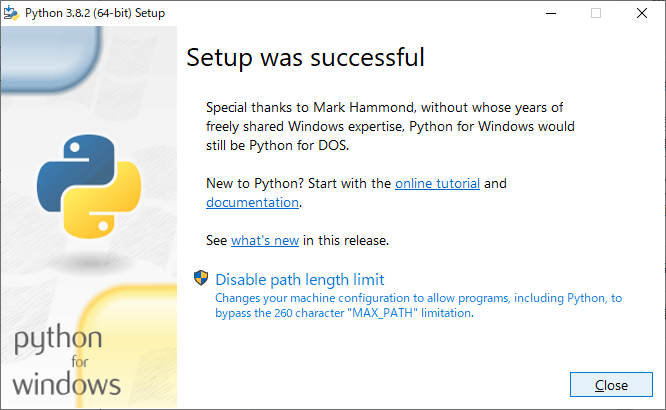
-Pythonのセットアップが終了したら[Close]をクリックする。
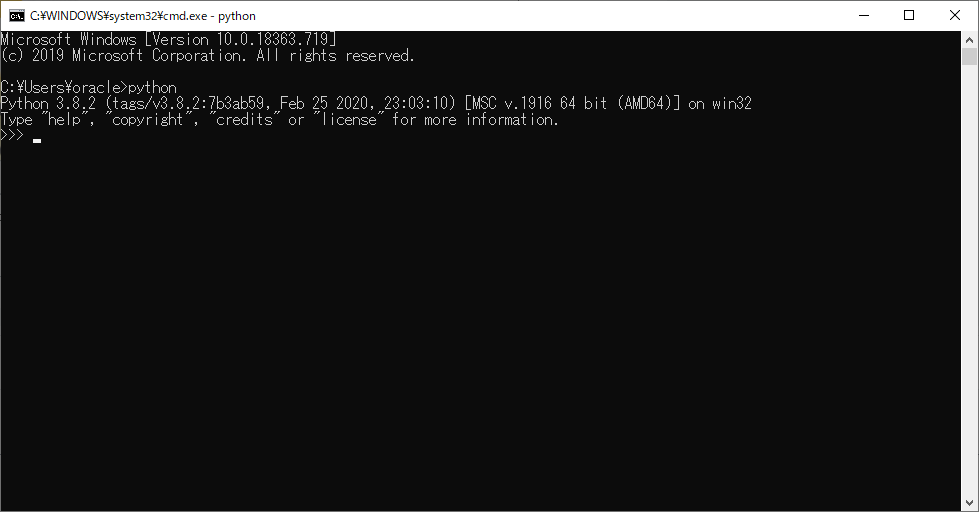
-PythonのPATHが通っているかを確認する。
[python]と入力し、[Enter]を押下後、プライマリプロンプト(>>>)が返ってきたらOKです。
Jupyter-Notebookのインストール
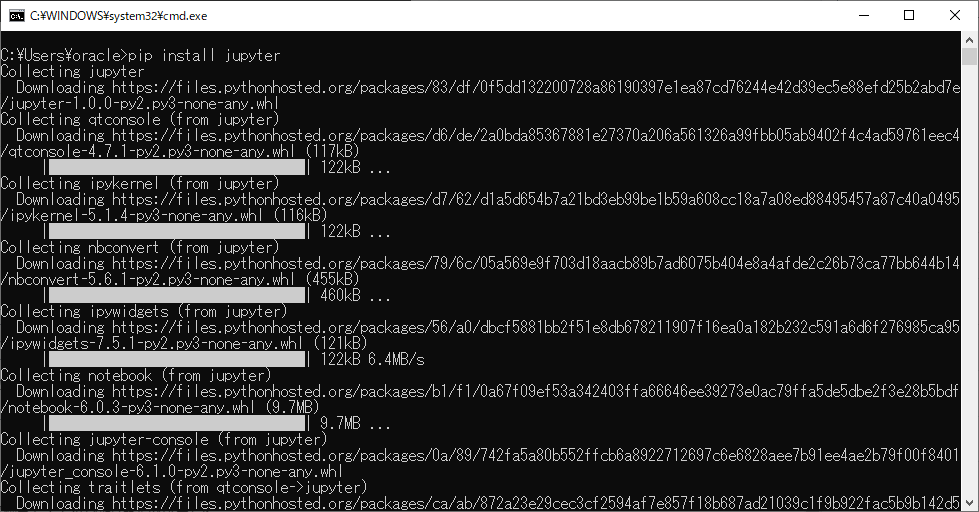
-CMDを起動し、以下を入力する。
> pip install jupyter
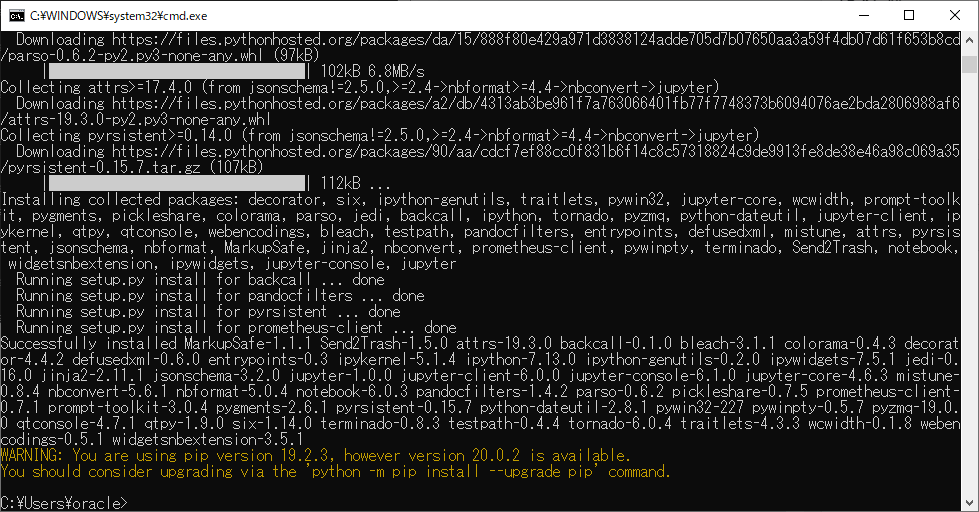
インストールが終了すると黄色文字でWARNINGメッセージが表示されています。
WARNING: You are using pip version 19.2.3, however version 20.0.2 is available.
You should consider upgrading via the ‘python -m pip install –upgrade pip’ command.
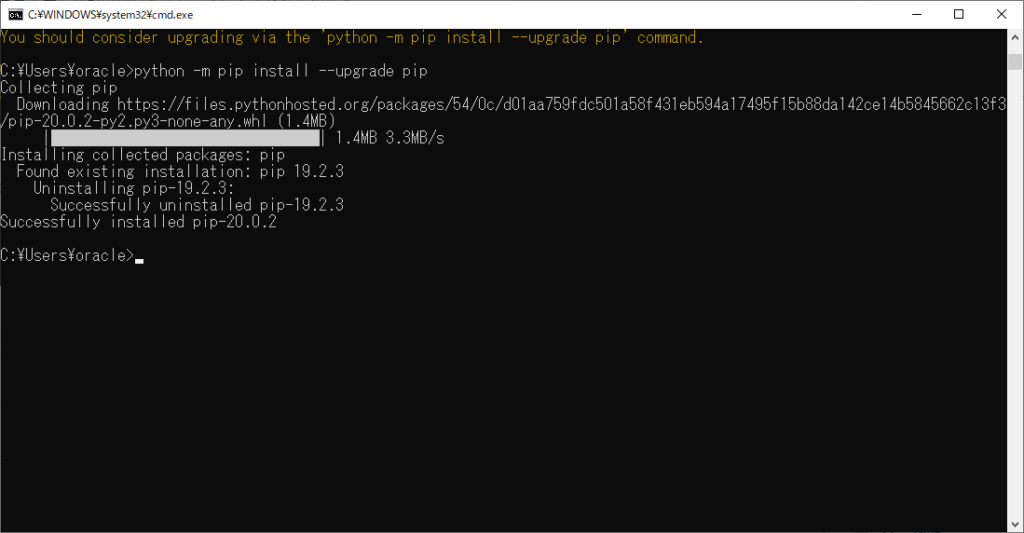
pip自体のバージョンが古いと何かパッケージをインストールする際に失敗する可能性もありますので最新の状態にしておきましょう。
> python -m pip install –upgrade pip
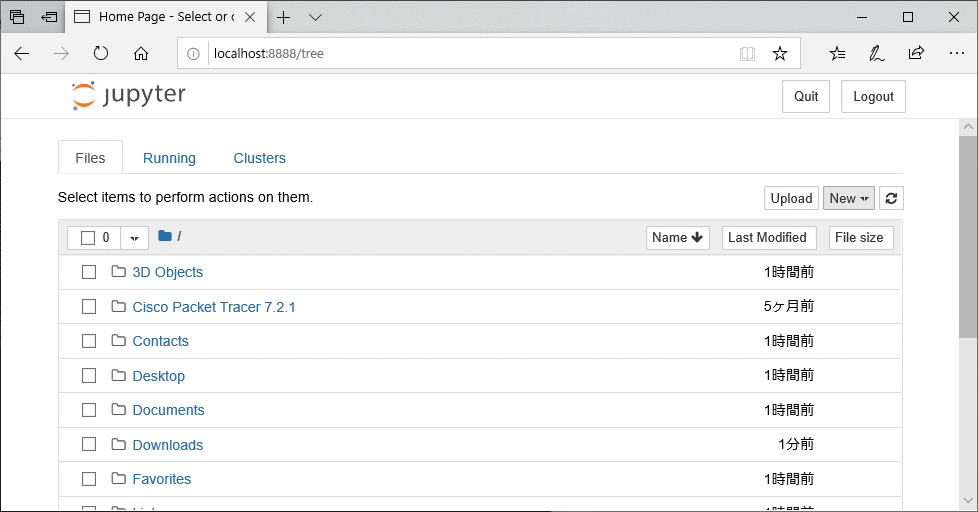
Jupyter-Notebookの起動
-CMDにて[Jupyter-Notebook]と入力し、実行すれば起動します。

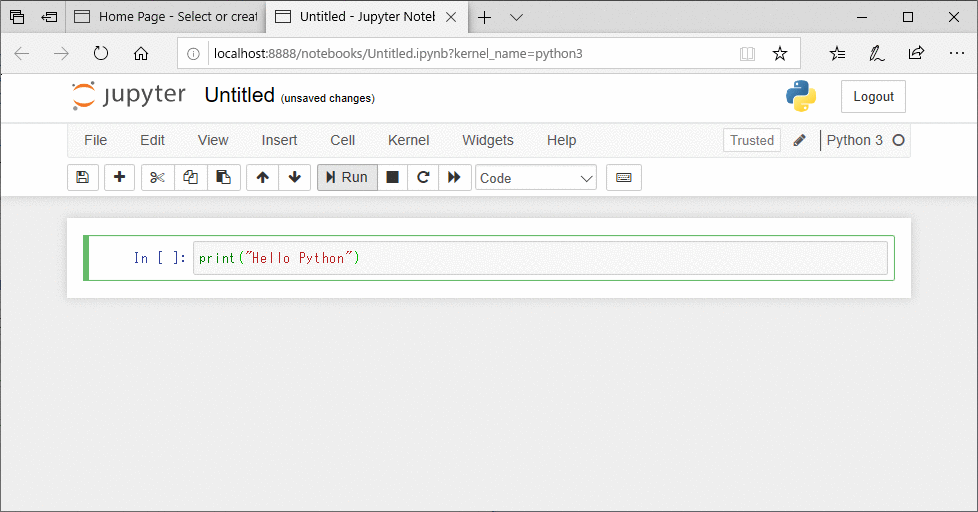
-[New]>[Python 3]をクリックするとNotebookが開きます。
-セル内に[print(“Hello python”)]と入力し、[Run]をクリックします。
如何でしょうか。
Jupyter-Notebookは インタラクティブシェルや.pyファイルで作業をするよりPythonコードを手軽に修正や実行ができるので作業効率を上げることができます。
コメント