

本投稿では前回Windows Server2016にインストールした PostgreSQL Ver12.2 へクライアント端末から接続する方法を紹介します。
接続方法はpgAdmin4およびpsqlコマンドを用いた接続を実施します。
2つの接続方法を実現するための大まかな設定の流れは以下となります。
- Windows Server 2016でのポート開放
- クライアント端末でpgAdmin4のインストール
- クライアント端末で環境変数設定
PostgreSQL用のポート開放
本手順はWindows Server 2016側で実施する。
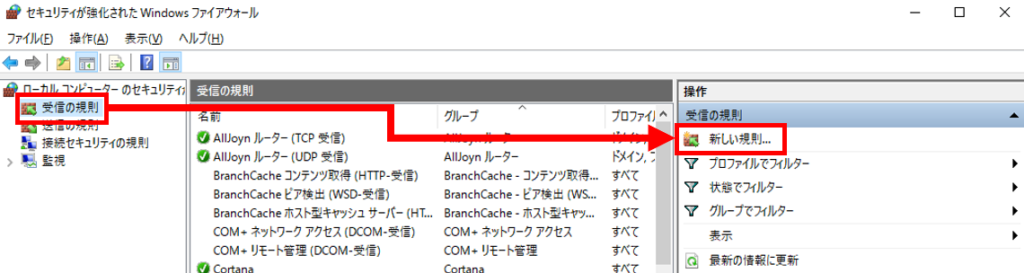
-[Windows]>[管理ツール]>[セキュリティが強化された Windows ファイアウオール]をクリックする。

-[受信の規則]>[新しい規則]をクリックする。
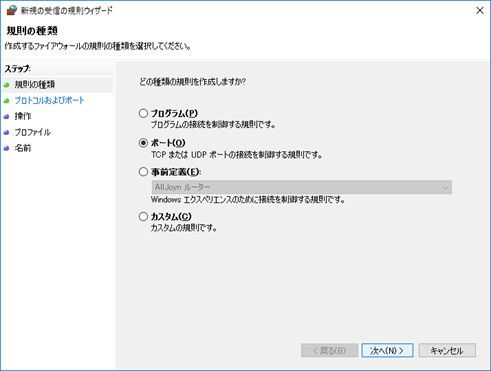
-[ポート]を選択して[次へ]をクリックする。
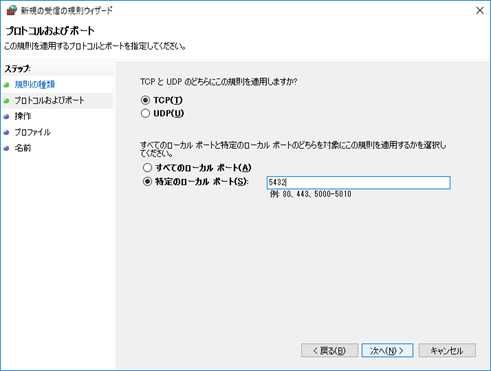
-以下の通り設定する。
TCP と UDP のどちらにこの規則を適用しますか? ⇒ TCP
特定のローカル ポート ⇒ 5432 ※postgresql.confのportを確認する。
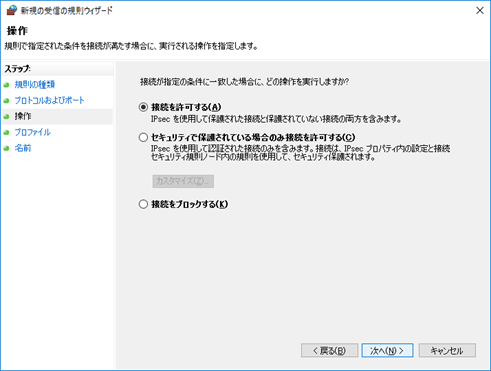
-[接続を許可する]にチェックがついていることを確認し[次へ]をクリックする。
-[次へ]をクリックする。 (状況に応じてチェックするしないを決めてください)
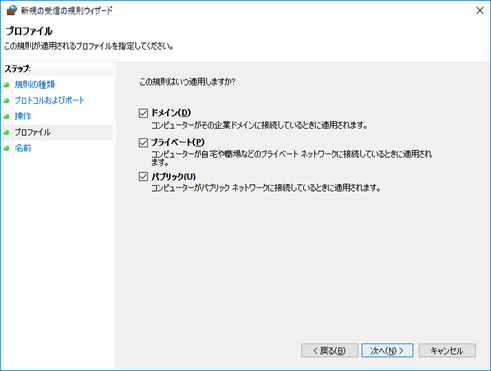
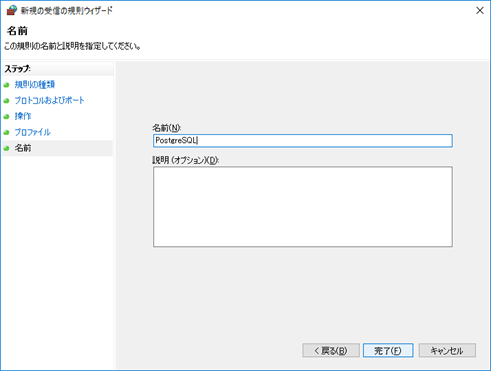
-どういった規則なのかわかりやすい名前をつけて[完了]をクリックする。
pgAdmin4のインストール
本手順はクライアント端末(Windows 10)側で実施する。
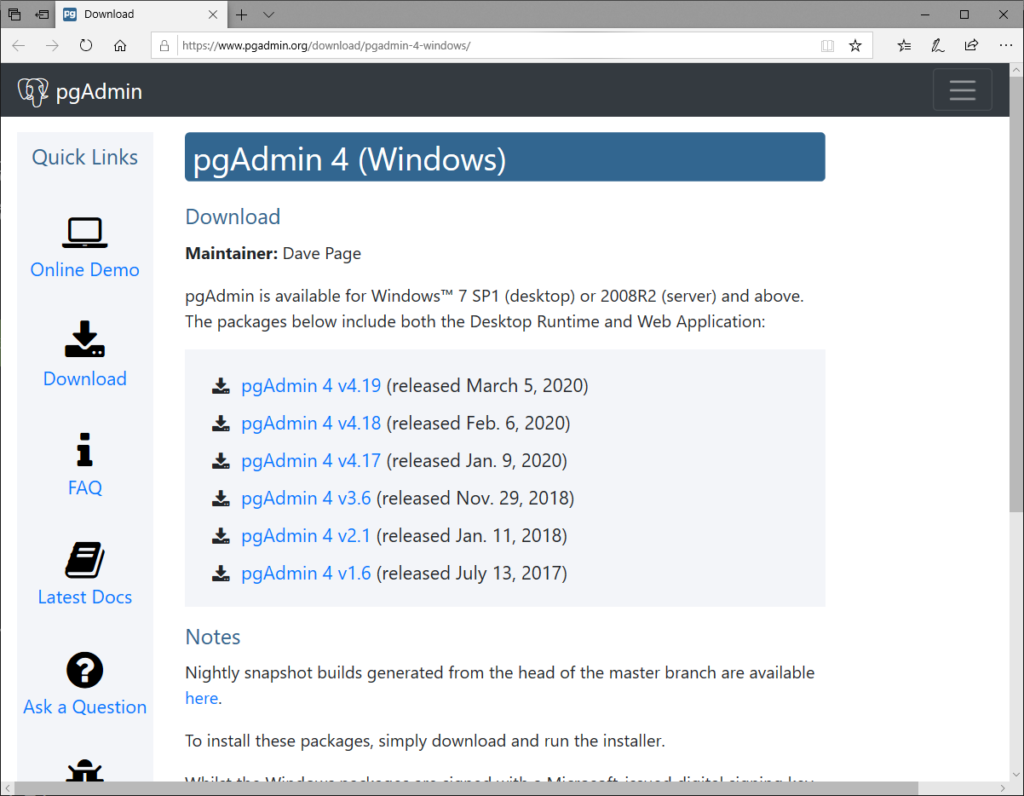
pgAdmin4のダウンロードサイトから.exeファイルをダウンロードする。
(本投稿では pgadmin4-4.16-x86.exe をダウンロード)
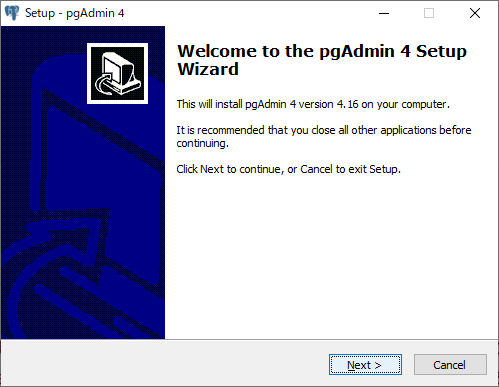
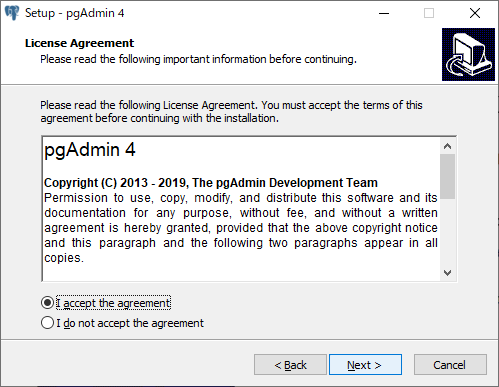
-ダウンロードした pgadmin4-4.16-x86.exe を実行し、[Next >]をクリックする。
-[I accept the agreement]を選択し、[Next >]をクリックする。
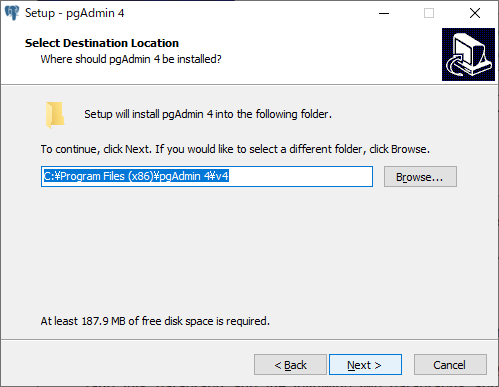
-pgAdmin4のインストール場所を指定し、[Next >]をクリックする。
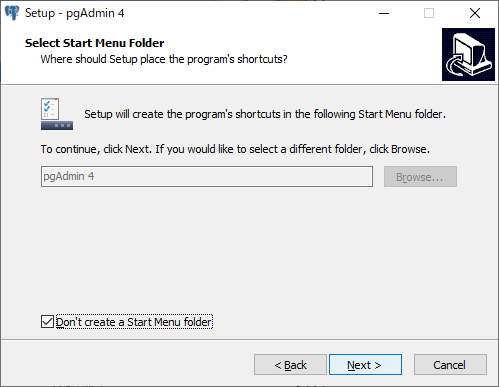
-[Next >]をクリックする。
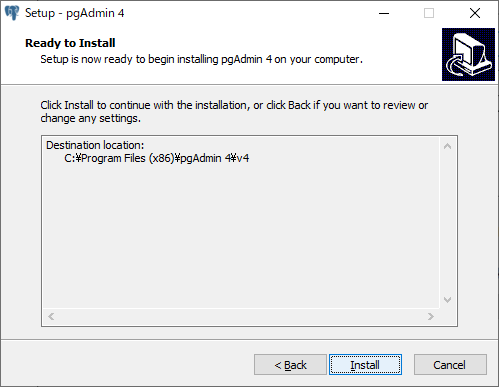
-[Install]をクリックする。
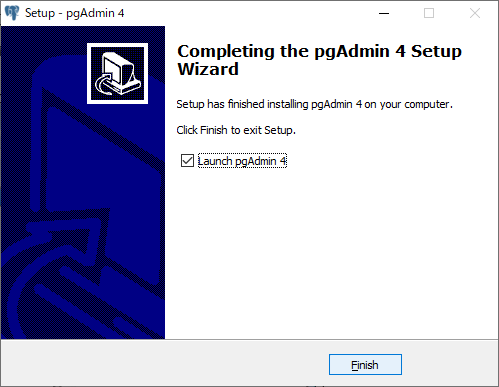
-[Finish]をクリックする。
pgAdmin4での接続
pgAdmin4のインストールが完了したのでpgAdmin4で前回構築したデータベースpostgresへ接続してみます。
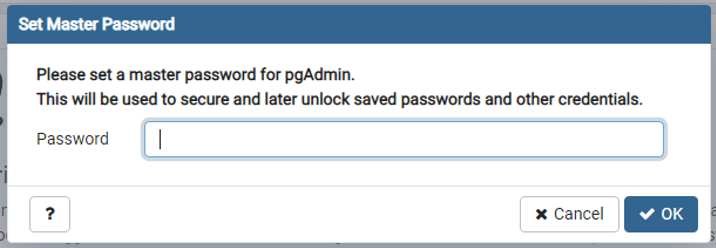
-セットアップ完了後、pgAdmin4が起動する。
任意のパスワードを入力し、[OK]をクリックする。
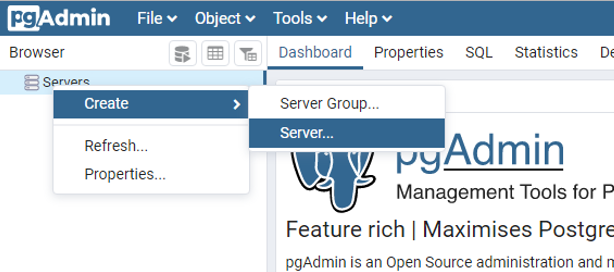
-[Servers]を右クリックし、[Create]>[Server]をクリックする。
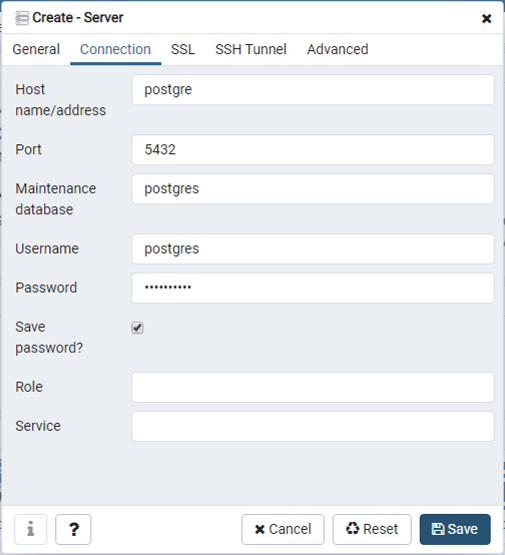
-[Name]に任意の名前を入力し、[Connection]タブをクリックする。
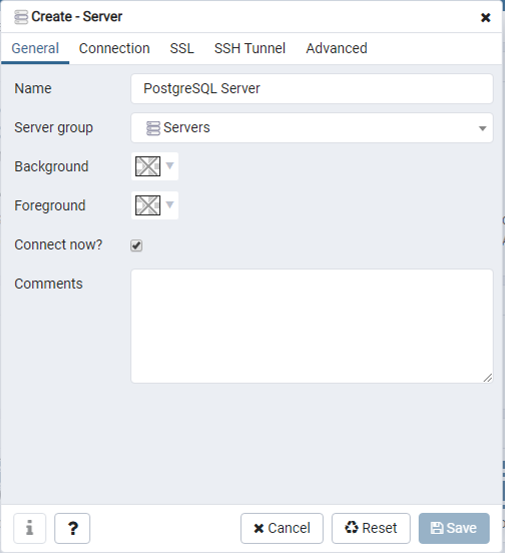
-以下を入力し、[Save]をクリックする。
Host:postgre ※ホスト名を指定する場合はhostsファイルでの設定を忘れずに
Port:5432
Maintenance database:postgres
Username:postgres
Password:***********
Save password? ☑
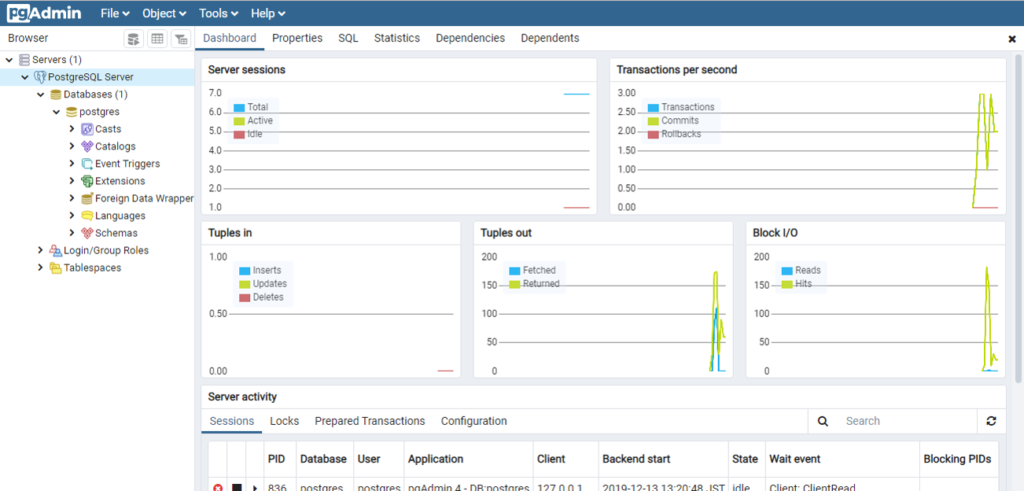
データベースpostgresの情報がDashboardに表示されることを確認する。
FATAL: no pg_hba.conf entry for host ~の対処
クライアント端末からPgAdminを介してPostgreSQLデータベースへ接続しようとすると以下エラーに遭遇する。
FATAL: no pg_hba.conf entry for host “IPアドレス”, user “ユーザ名”, database “データベース名”, SSL off
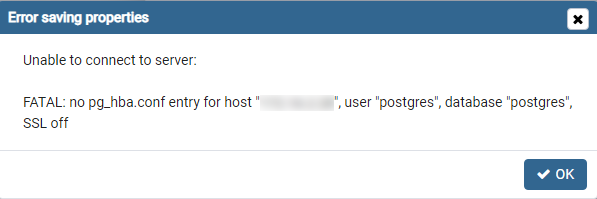
本エラーはPostgreSQLをインストールしたサーバのpg_hba.conf(dataフォルダ直下にあります)に追記することで解決する。
pg_hba.confの「# IPv4 local connections:」に以下内容を追記する。
host all all XXX.XXX.XXX.XXX(IPアドレス)/32 trust

指定するIPアドレス(XXX.XXX.XXX.XXX)はPgAdmin4上で表示された「 FATAL: no pg_hba.conf entry for host “IPアドレス” 」のIPアドレスの部分で良いが、PostgreSQLデータベースをインストールしたサーバ上のログファイルでも確認することができる。
格納場所:C:\Program Files\PostgreSQL\12\data\log
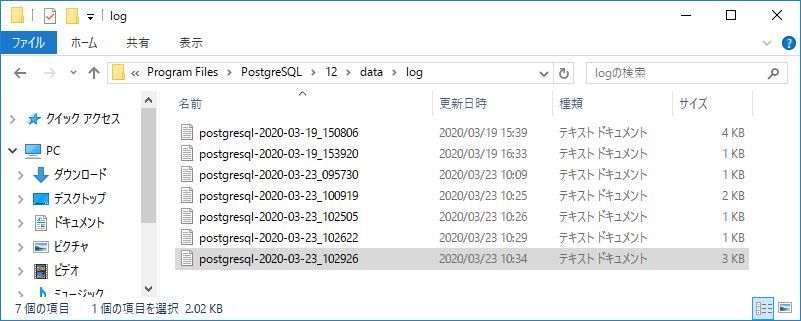
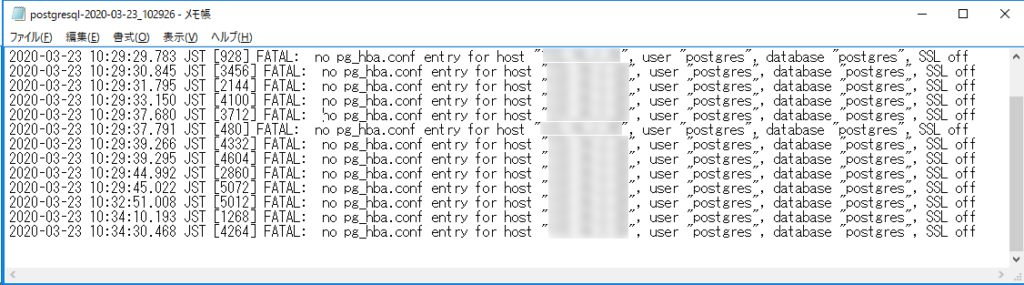
no pg_hba.conf entry for host の後ろのダブルクォーテーションで囲まれているIPアドレスを指定してあげれば良い。
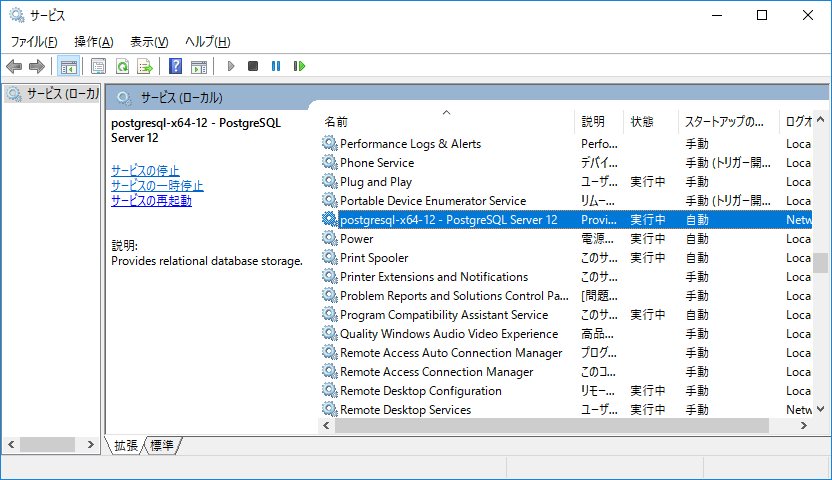
[サービス]を開き、PostgreSQLを再起動する。
クライアント端末からpsqlコマンドでPostgreSQLへ接続
クライアント端末からpsqlコマンドでPostgreSQLへ接続するにはまずは環境変数を設定します。
本手順はpgAdmin4がインストール済みであることを前提に実施しています。
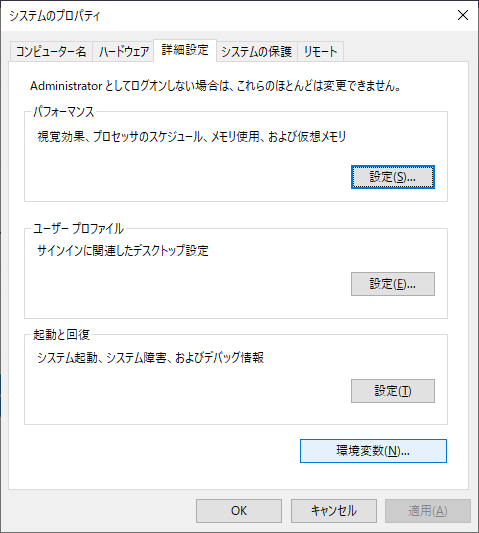
-[コントロールパネル]> [システムとセキュリティ]> [システム]>[システムの詳細設定]をクリックする。

-[環境変数]をクリックする。
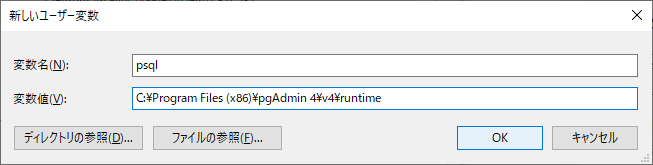
-[新規]をクリックし、以下を入力し、[OK]をクリックする。
変数名:psql
変数値:C:\Program Files (x86)\pgAdmin 4\v4\runtime
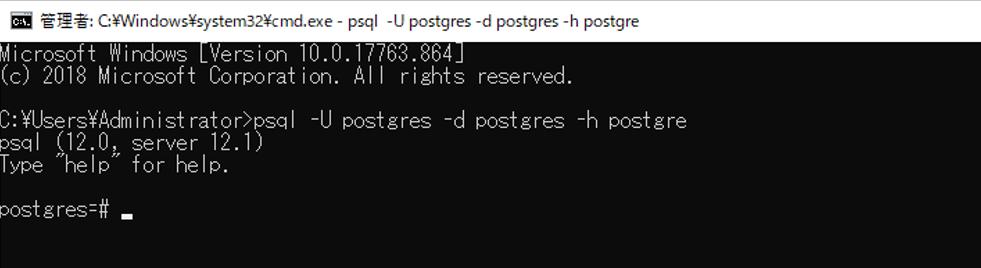
CMDを開き、PostgreSQLへ接続できるか確認する。
> psql -U postgres -d postgres -h postgre
-Uオプション ユーザ指定
-dオプション データベース指定
-hオプション ホスト名指定
今回の手順ではクライアント端末からpgAdmin4およびpsqlコマンドでPostgreSQLへ接続することができました。
そこまで難しい手順ではないのですが複数のRDBMSを扱うと「何が必要だっけ?」と思い出せなかったりします。
Oracle、SQL Server、今回のPostgreSQLとRDBMSごとにインストール、接続方法等は違うのでそれぞれのやり方を別の投稿で紹介できたらなと思います。


コメント