

本投稿ではOracle Linux6.5をVMware Workstation 15 Playerに構築した際の手順を紹介する。
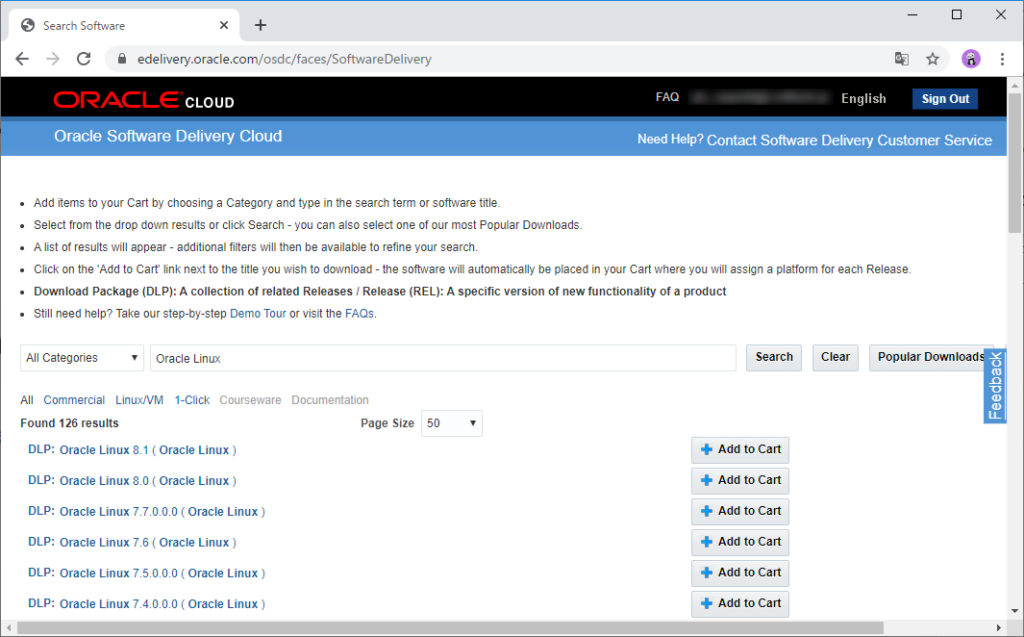
Oracle Linux6.5のダウンロード
ISOファイルは Oracle Software Delivery Cloud からダウンロードする。
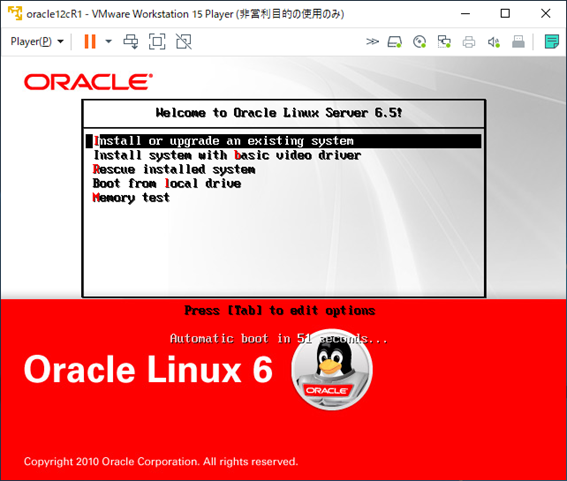
Oracle Linux6.5のインストール
-VMware Workstation 15 Player 上に構築した仮想マシン起動し、
[Install or upgrade an existing system]を選択した状態で[Enter]を押下する。
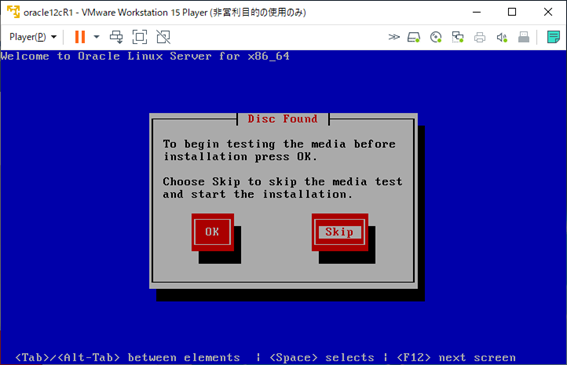
-[Skip]を選択した状態で[Enter]を押下する。
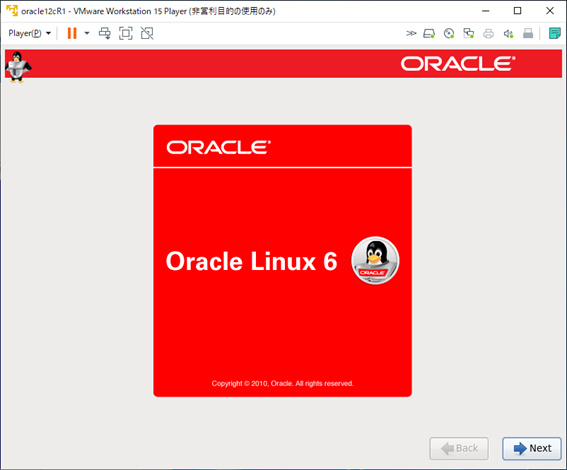
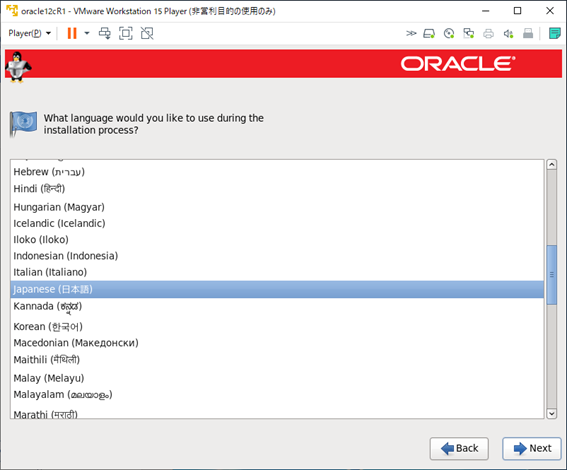
-[Next]をクリックする。
-[japanese(日本語)]を選択し、[Next]をクリックする。
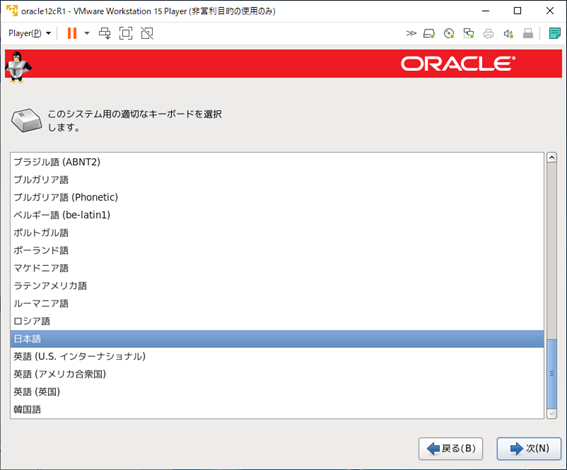
-[日本語]を選択し、[次]をクリックする。
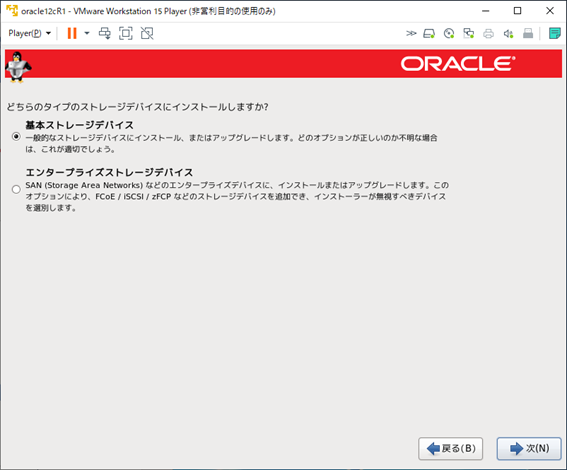
-[基本ストレージデバイス]を選択し、[次]をクリックする。
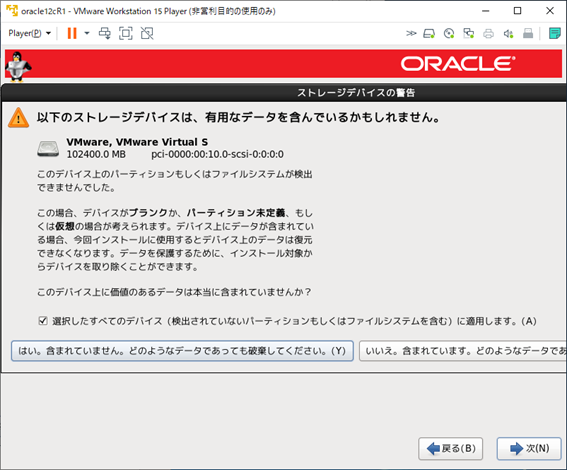
-[はい、含まれていません。どのようなデータであっても破棄してください。]をクリックする。
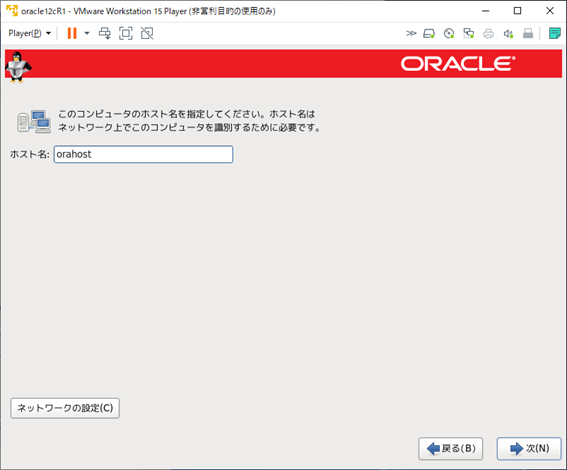
-[ホスト名:]を入力し、[次]をクリックする。
静的なIPアドレスを付与したい場合は[ネットワークの設定]から行っておく。
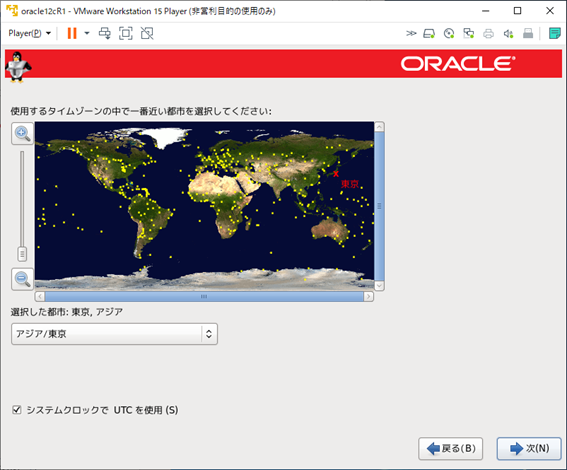
-[次]をクリックする。
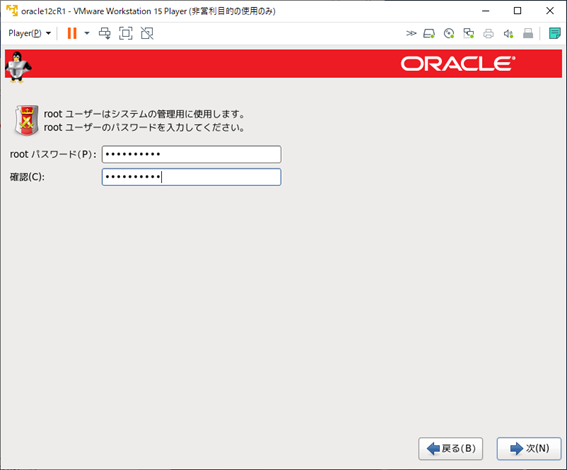
-rootのパスワードを設定し、[次]をクリックする。
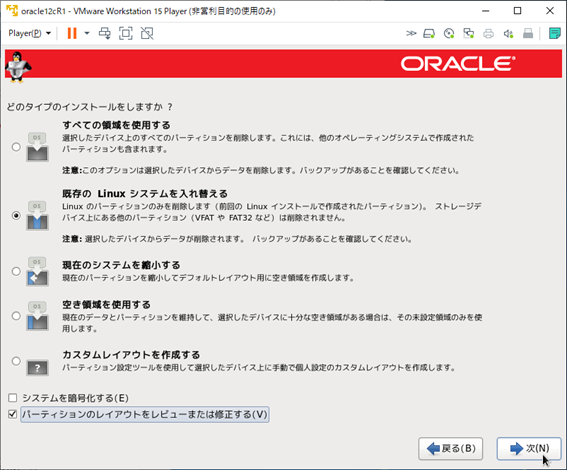
-以下の通り設定し、[次]をクリックする。
◉ 既存の Linux システムを入れ替える
☑ パーティションのレイアウトをレビューまたは修正する
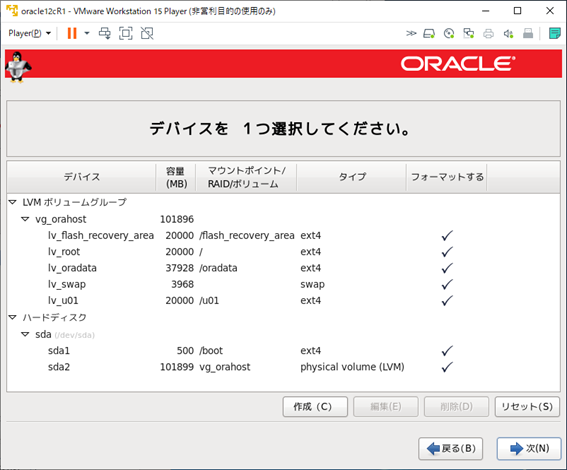
-ディレクトリごとのサイズを設定して[次]をクリックする。
ただし、Oracleソフトウェアのインストール場所は以下のディスク領域要件を
満たしている必要があるので注意してください。
4.3.3.1 Linux x86-64のディスク領域要件
-[フォーマット]をクリックする。
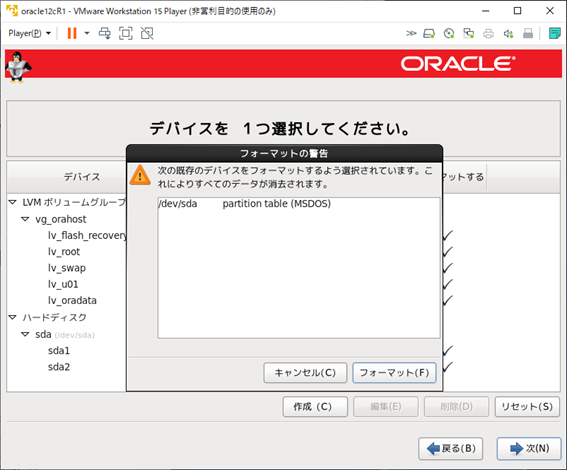
-[変更をディスクに書き込む]をクリックする。

-[次]をクリックする。

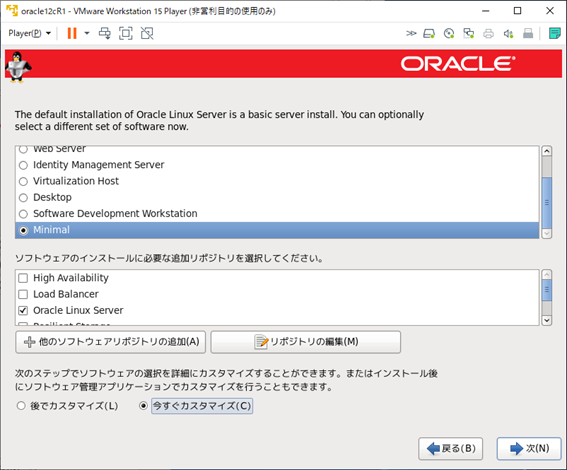
-以下の通り設定し、[次]をクリックする。
◉ Minimal
☑ Oracle Linux Server
◉ 今すぐカスタマイズ
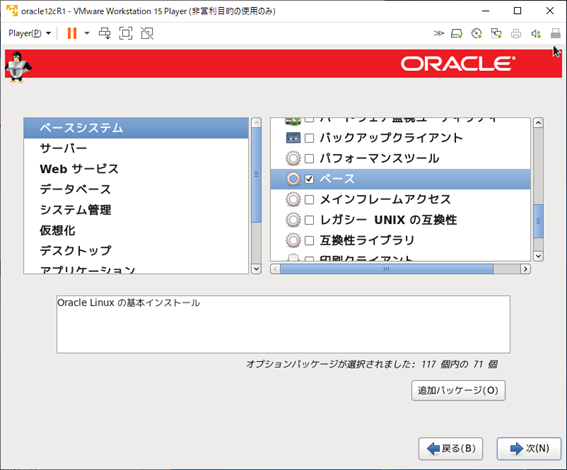
-それぞれの項目で以下の通り設定し、[次]をクリックする。
ベースシステム:☑ベース
システム管理:☑SNMPサポート
デスクトップ:☑X Windows System、☑デスクトップ、☑フォント、
☑レガシーX Windowsシステムの互換性
アプリケーション:☑インターネットブラウザ
※必要最低限のものを選択しました。あとはお好みで。
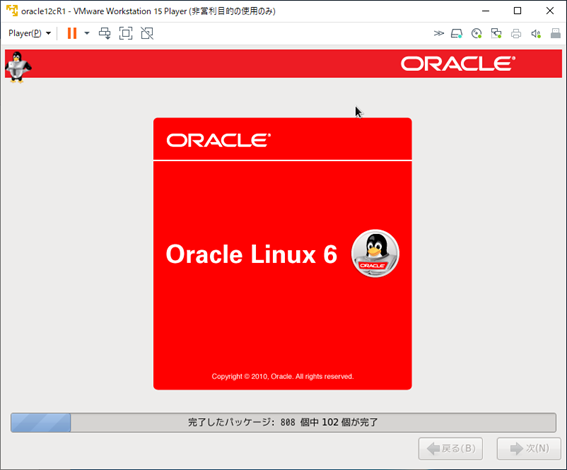
-インストールが始まります。
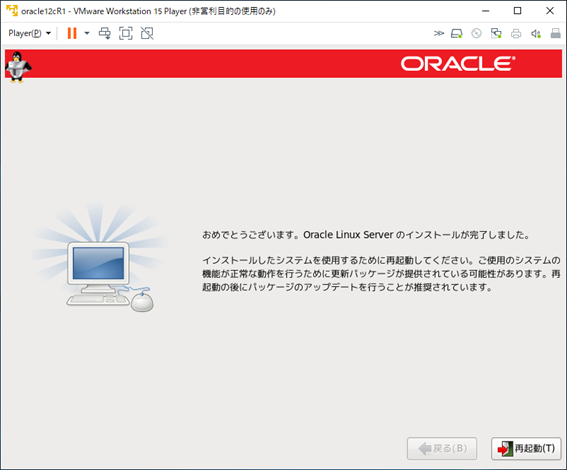
-完了したら[再起動]をクリックする。
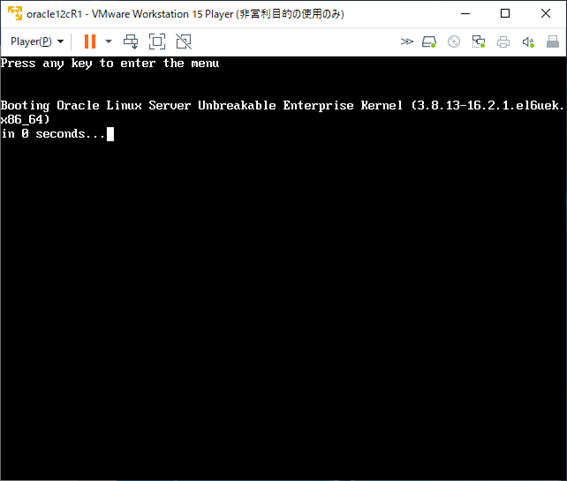
-[Enter]を押下する。
※デフォルトでUEKで起動するようになっているのだがカーネルパニックが発生するため
時間内に実施すること。

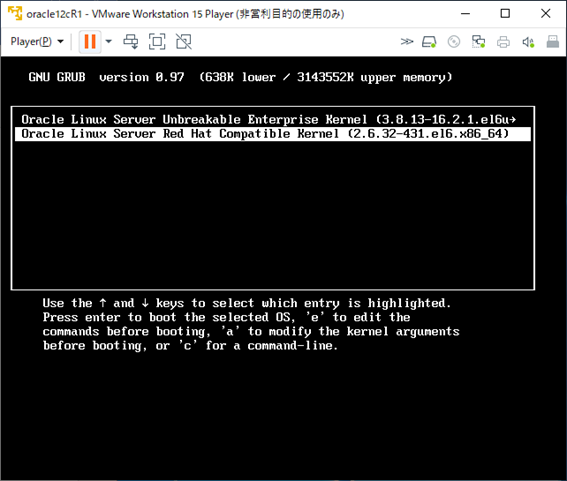
-[Oracle Linux Server Red Hat Compatible Kernel (2.6.32-431.el6.x86_64)]を選択し、
[Enter]を押下する。

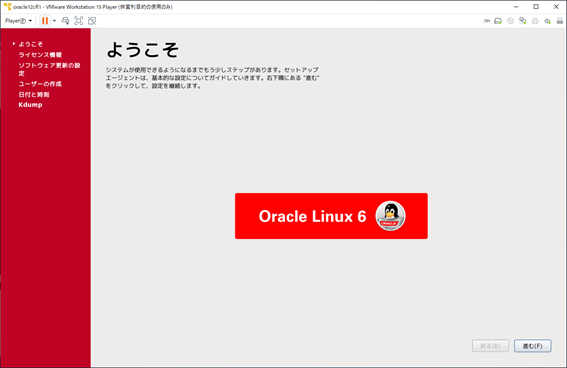
-[進む]をクリックする。
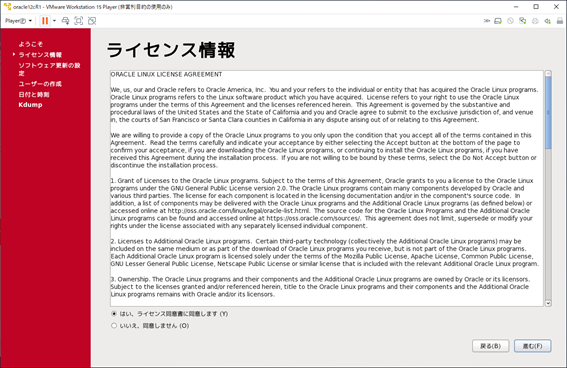
[はい、ライセンス同意書に同意します]を選択し、[進む]をクリックする。
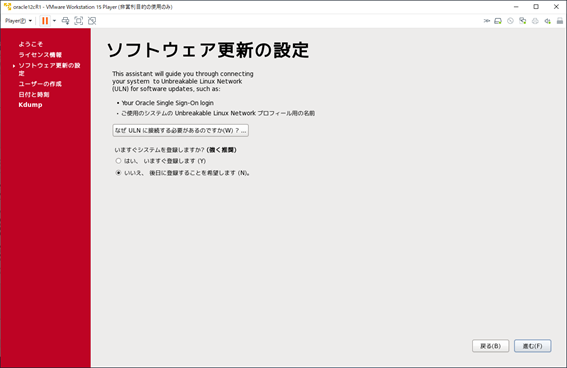
-[いいえ、後日に登録することを希望します。]を選択し、[進む]をクリックする。
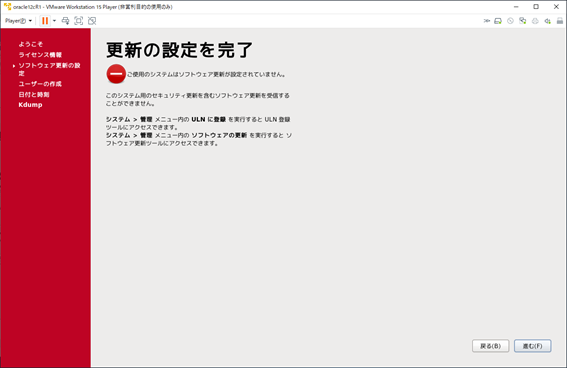
-[いいえ、後で接続します。]をクリックする。

-[進む]をクリックする。
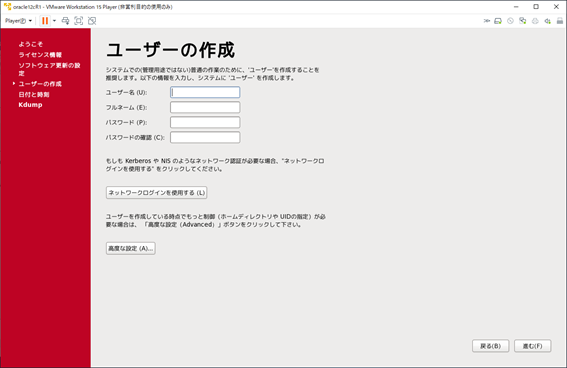
-[進む]をクリックする。
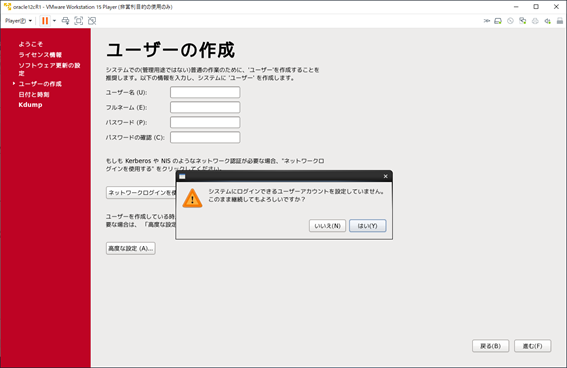
-[はい]をクリックする。
-[ネットワーク上で日付と時刻を同期します]にチェックし、[進む]をクリックする。
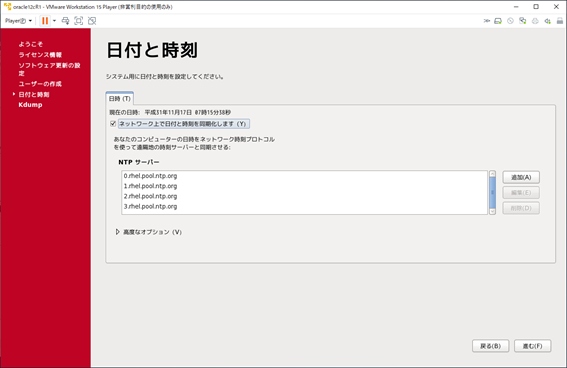
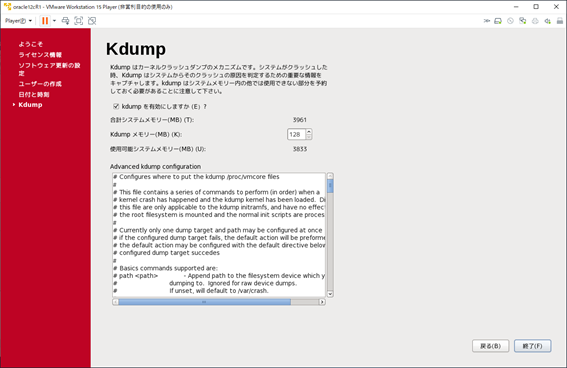
-[終了]をクリックする。
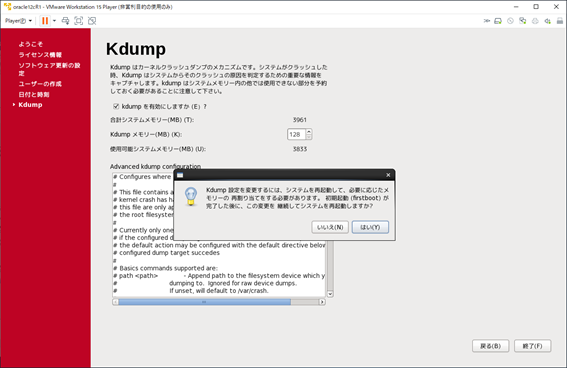
-[はい]をクリックする。
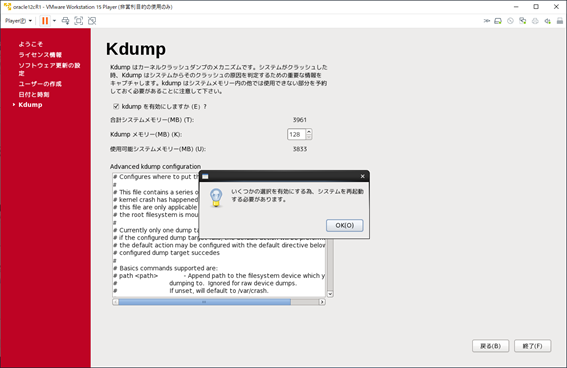
-[OK]をクリックする。
-[Enter]を押下する。
-[Oracle Linux Server Red Hat Compatible Kernel (2.6.32-431.el6.x86_64)]を選択し、
[Enter]を押下する。
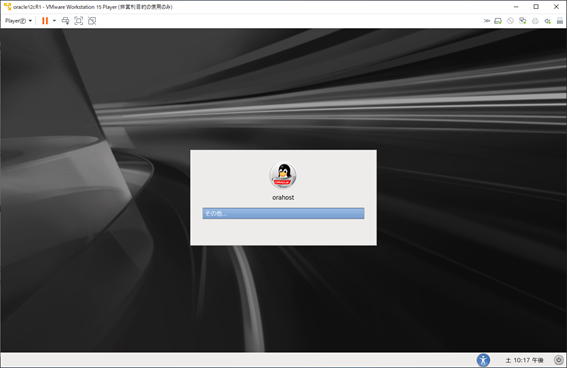
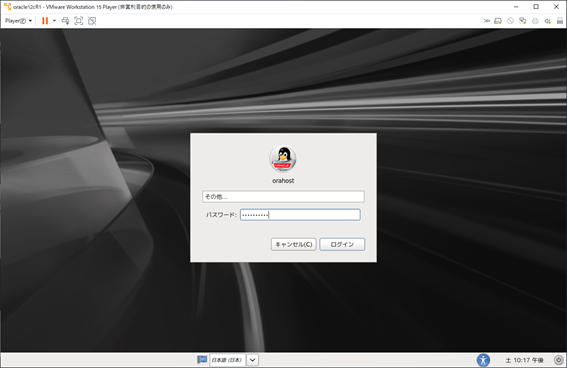
-[その他]をクリックする。
-「ユーザー名」に[root]と入力し、[Enter]を押下する。
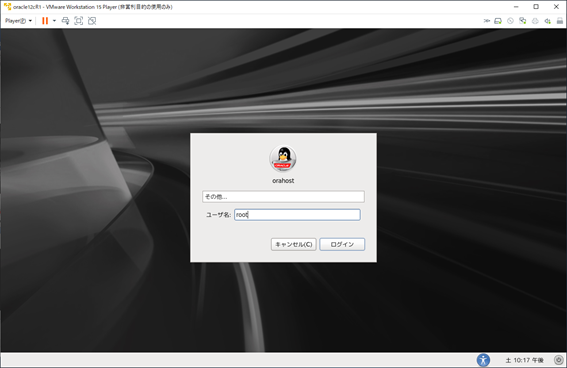
-パスワードを入力し、[Enter]を押下する。
-[再度表示しない]にチェックし、[閉じる]をクリックする。

-ログインできたことを確認する。


コメント