

VirtualBox を Windows11 にインストールしてVM(CentOS8)を起動しようとしたところ
エラーが発生したのでそのエラーと対処方法について紹介します。
エラーの内容: Failed to get device handle and/or partition ID for 00000000011fb500
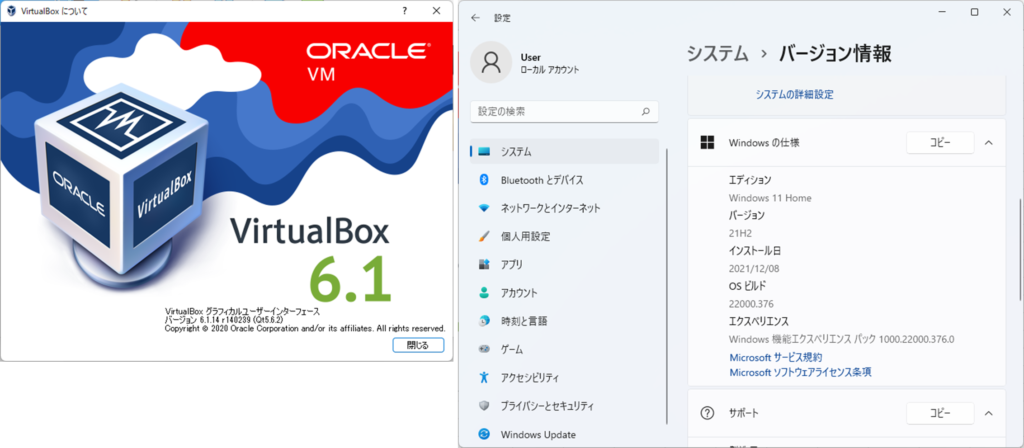
VirtualBox と Window11 のバージョン情報
「Oracle VM VirtualBox マネージャー」にて作成したVMの[起動]をクリックすると
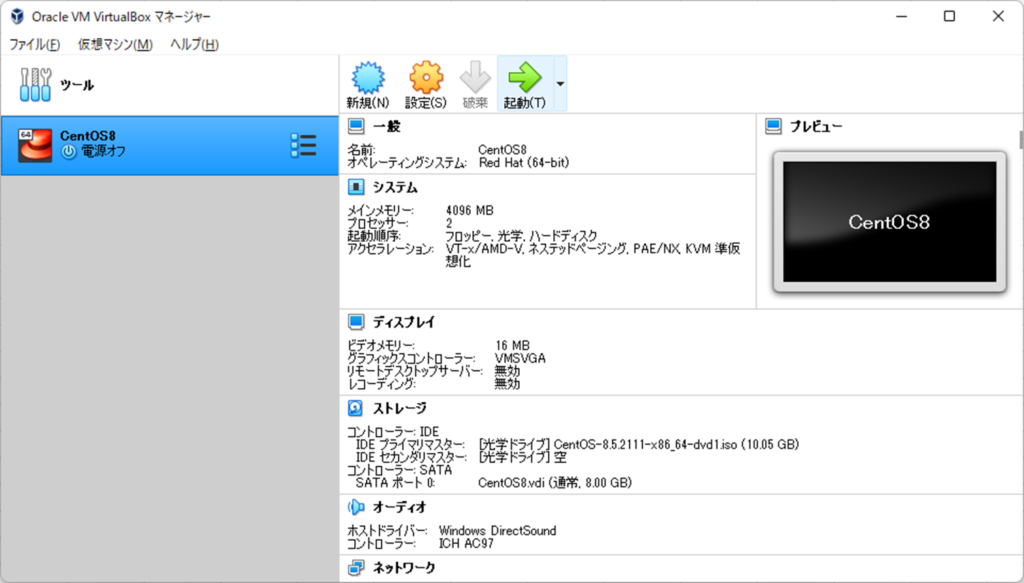
以下のエラーが表示されます。
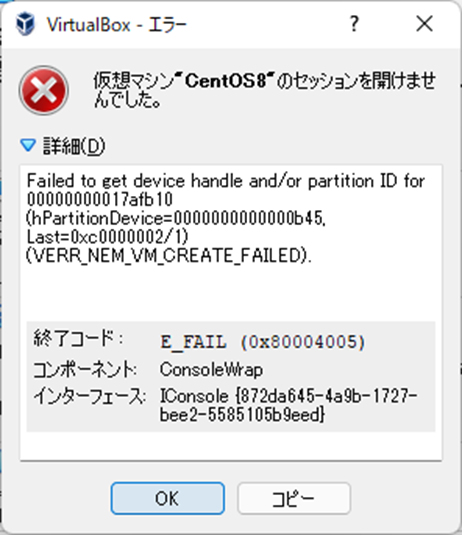
仮想マシン”CentOS8″のセッションを開けませんでした。
Failed to get device handle and/or partition ID for 00000000011fb500 (hPartitionDevice=0000000000000bbd, Last=0xc0000002/1) (VERR_NEM_VM_CREATE_FAILED).
終了コード : E_FAIL (0x80004005)
コンポーネント: ConsoleWrap
インターフェース: IConsole {872da645-4a9b-1727-bee2-5585105b9eed}
解決方法:VirtualBox 6.1.28以降をインストールする
該当する原因は以下に記載されています。
KB5007125: Oracle VirtualBox がインストールされた Windows 11 にアップグレードした場合の互換性保持
上記の回避策を確認すると「Hyper-V または Windows ハイパーバイザーを一時的に削除する必要があります。」となっていますが、WSLを使っているためそれはしたくありません。
さらに調査を進めると以下にたどり着きました。
Windows11でVMが起動しない問題はVirtualBox 6.1.28 にて修正されたとのことでした。
VirtualBox 6.1.14 をインストールした際に以下が表示されていました。
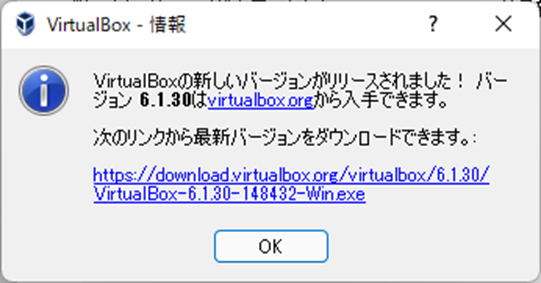
最新バージョンは 6.1.30 とのことでこれをダウンロードして
インストールしなおせば問題は解決しそうです。

上記から「VirtualBox-6.1.30-148432-Win.exe」をダウンロードします。
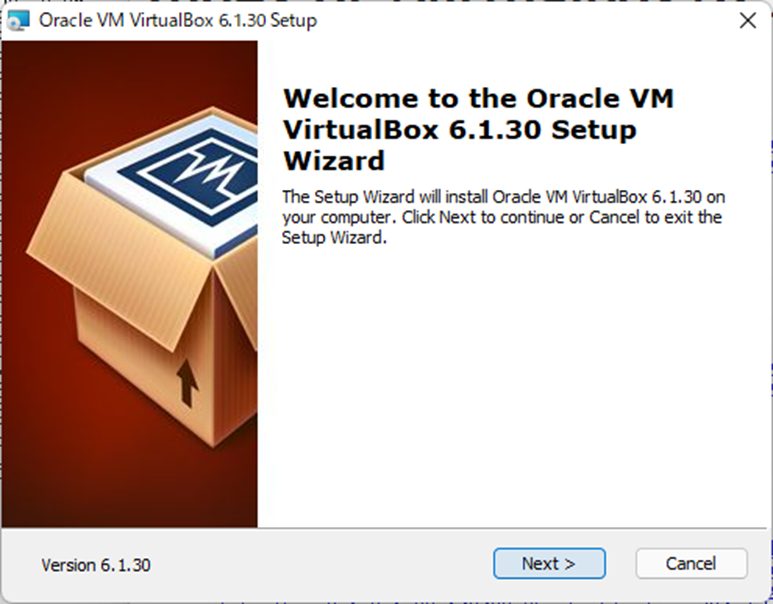
ダウンロードしたEXEファイルを実行してインストールを開始します。
[Next >]をクリックします。
[Next >]をクリックします 。
[Next >]をクリックします 。
[Yes]をクリックします。

[Install]をクリックします。
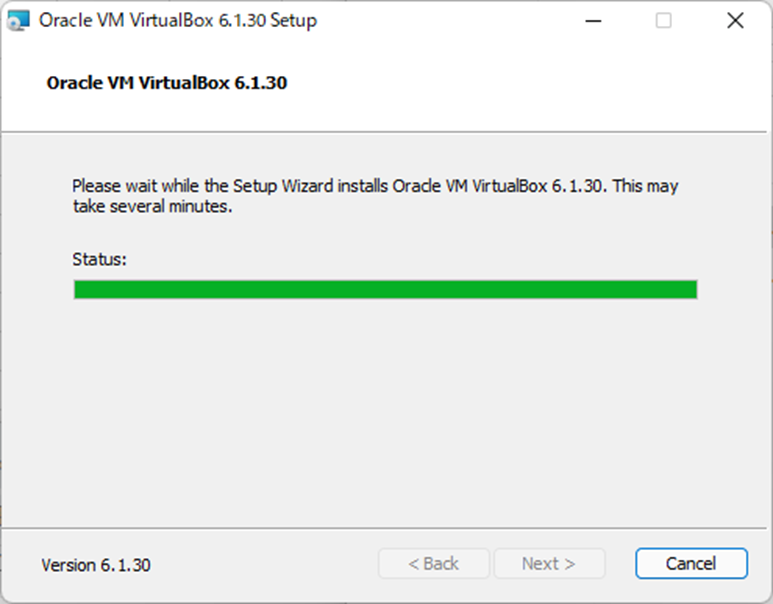
インストールが開始されますので少し待ちます。
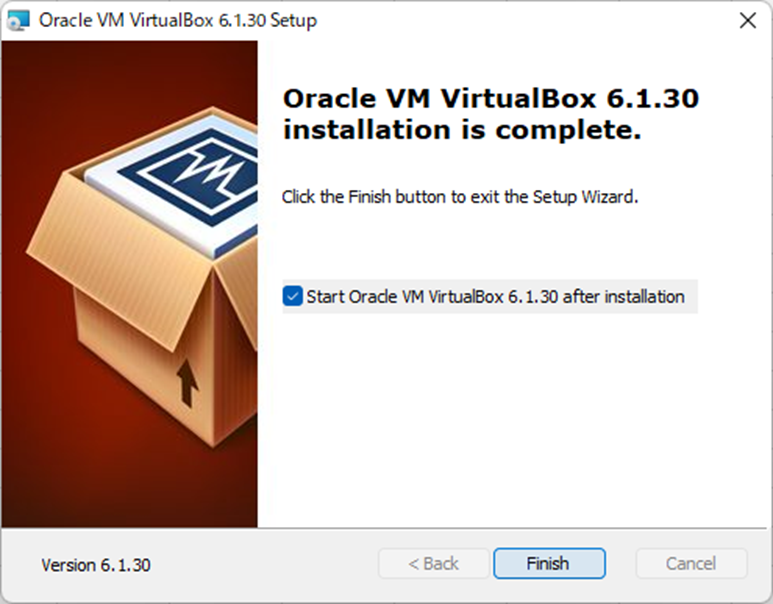
[Finish]をクリックします。
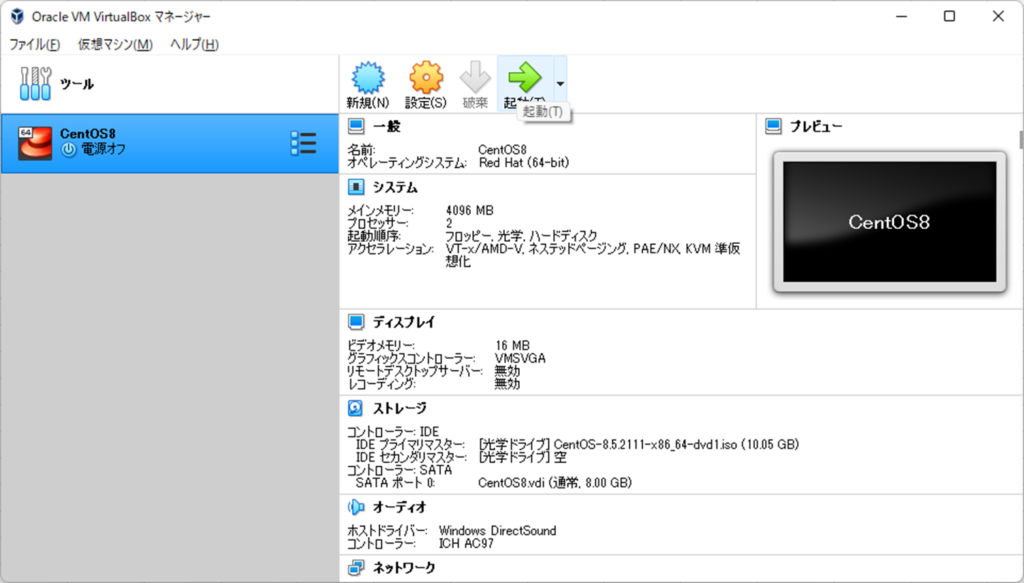
仮想マシンの設定は今回省きますが作成したVM(CentOS8)の[起動]をクリックします。
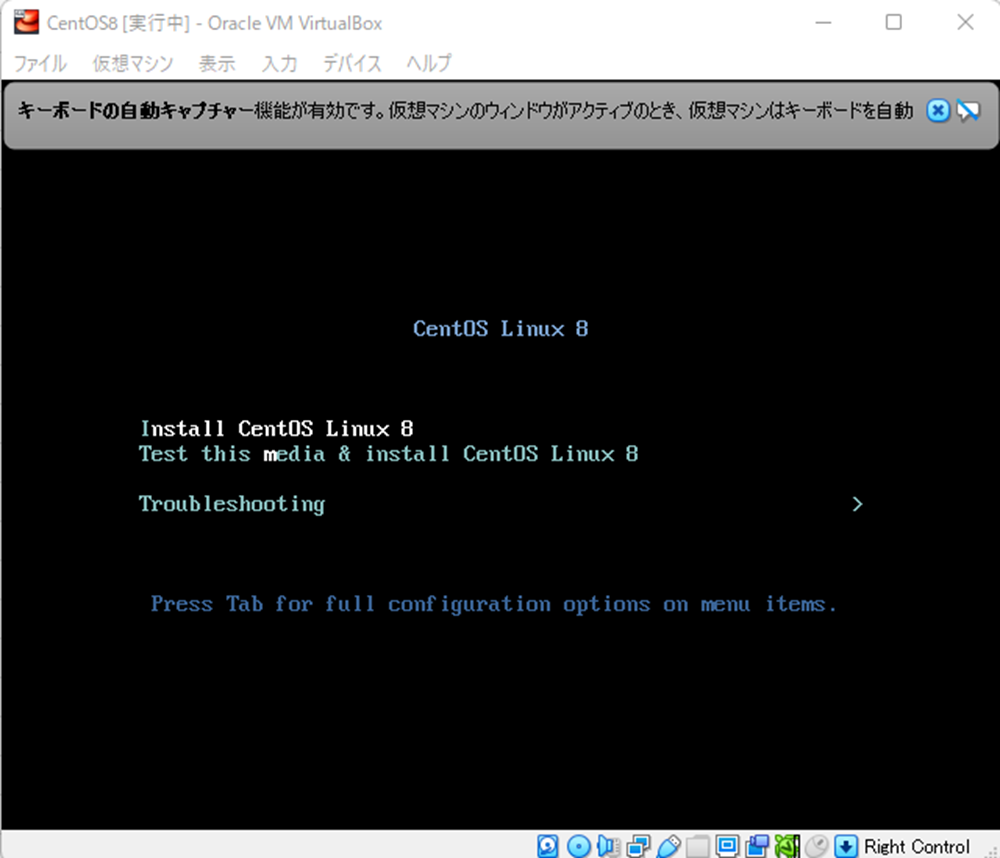
エラーも発生せず、CentOS8の起動に成功しました。
本投稿は以上となります。
CUIベースの環境は Xming を設定することでGUIも表示することができるようになります。
ご興味ある方は以下投稿も確認してみてください。

コメント